How to Paint Furniture?
Does your old sofa need a fresh look or is your kitchen cabinet looking a bit tired? Furniture painting is one of the most cost-effective ways to give your home a new lease of life. In 2025, furniture painting has become more accessible than ever before thanks to new materials and techniques.
What do you need for furniture painting?
Before starting your project, make sure you have everything you need:
Sandpaper (various grits 120-220)
Sanding block or electric sander
Cleaning cloths and cleaning solution
Primer
Paint (acrylic, chalk, or oil paint)
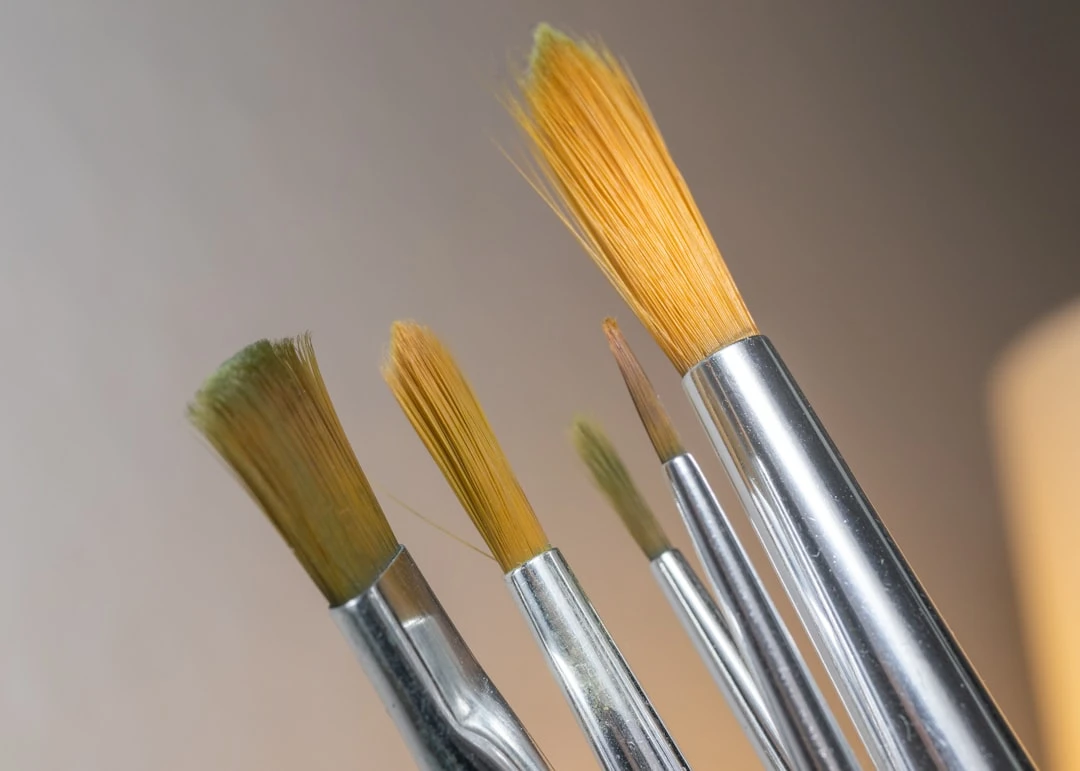
Quality brushes and paint rollers
Paint tray or container
Protective gloves and mask
Painter's tape and drop cloths
Clear varnish (optional)
Professional results start with the right tools. Don't skimp on quality brushes and paints – they ensure more even coverage and a finish that lasts for years.
Step 1: Surface preparation
Thorough preparation is the foundation of quality painting. The European Union's eco-friendly furniture regulations emphasize the importance of surface preparation to achieve a durable result, as noted in the EU Ecodesign Directive.
Start by removing all hardware from the furniture (knobs, hinges, handles). Then thoroughly clean the surface with soapy water or a special degreaser to remove dirt and oil residue. These can negatively affect the paint layer.
Next, sand the surface – start with coarser sandpaper (120) and finish with finer paper (220). Sanding creates grip for the paint and smooths out irregularities. After sanding, remove all dust with a damp cloth or vacuum.
If you're painting from dark to light, always use a blocking primer. This prevents the dark color from showing through and ensures an even result.
Step 2: Priming
Primer is like glue between the paint and the surface – it ensures better adhesion and a more even finish. 2025 trends show that eco-friendly, low VOC content primers have become the norm.
For wood furniture, water-based acrylic primer works best. Apply the primer evenly to the surface, using a quality brush or roller. Lengthwise strokes will give a smoother result. Let the primer dry according to the product instructions – typically 2-4 hours.
Once the primer is completely dry, lightly sand the surface with fine sandpaper (220) to remove any roughness. This ensures that the final paint coat is silky smooth.
Step 3: Painting
In 2025, fast-drying and durable paints dominate the market, allowing furniture to be used just hours after painting.
The choice of paint depends on the furniture's use and the desired look:
Acrylic paints – water-based, fast-drying, easy to use
Chalk paints – give a matte, vintage-style finish
Oil paints – durable, but slower-drying
Apply the paint to the surface in even, thin layers. Multiple thin layers give a better result than one thick coat. Make sure paint strokes move lengthwise along the furniture – this gives a more even surface.
Let each paint layer dry properly before applying the next. Although 2025 paints dry faster, give them sufficient time anyway – patience pays off.
Step 4: Varnishing or waxing
A topcoat protects the painted surface from wear, scratches, and moisture.
Choose an appropriate topcoat based on your furniture's intended use:
Glossy varnish – durable and easy to clean, suitable for kitchen furniture
Satin or matte varnish – elegant appearance, suitable for living room furniture
Furniture wax – provides a natural look and protection
Apply the topcoat evenly, using a soft brush or microfiber cloth. When varnishing, avoid creating bubbles and watch out for runs. Let the topcoat dry completely according to the product instructions and repeat the process if needed, applying 2-3 coats for maximum protection.
Drying times and safety requirements
2025 paints contain fewer harmful compounds. According to European Union regulations, furniture paints must not contain more than 5% volatile organic compounds (VOC), as described in the EU Ecodesign Directive.
Take into account the following drying times:
Primers: 2-4 hours
Paints: touch-dry within 1-2 hours
Complete drying and curing: 24-72 hours
To ensure safety, follow these recommendations:
Always paint in a well-ventilated room
Use protective equipment – gloves, goggles, and if necessary, a respirator
Keep paints and solvents out of reach of children
Do not eat, drink, or smoke while painting
Tips and tricks
In 2025, nature-inspired paint colors are popular for color selection, especially green and blue pastel shades. These work well with contemporary minimalist home design.
With modern paints and tools, you can create interesting texture effects that give furniture a unique look. You can experiment with sponge dabbing, dry brush strokes, or work with special texture rollers.
The choice of topcoat significantly affects the final result – matte and satin finishes remain popular in 2025, giving furniture a contemporary look, while glossy finishes suit a more classical style.
For larger furniture pieces, consider using a paint sprayer, which ensures an extremely even result and saves time.
Common mistakes to avoid
For a successful furniture painting project, it is important to avoid the following common mistakes:
Insufficient surface preparation – rushing this step gives poor results
Paint layers that are too thick – cause runs and uneven drying
Insufficient drying time between coats – causes paint peeling and bubbling
Using low-quality tools – false economy
Choosing inappropriate paint for the intended use (for example, oil paint on children's room furniture)
Furniture painting is a great way to transform your home's appearance on a minimal budget. With the right techniques and materials, you can create professionally finished furniture that lasts for years.
Want more practical tips for home renovation? Visit the Kinnisvara24 portal, where you'll find helpful articles and services for home maintenance and design. Our portal also offers inspiration through various interior design solutions that you can combine with your freshly painted furniture.
Search
Keywords
Most read articles
- Price per Square Meter of Apartments in Tallinn in 2025

- Estonian Apartment Prices and Market Expectations in 2025

- Apartment Market in Early 2026: Prices Rising, Transaction Activity Remains Modest

- Notary Fee and State Fee – Who Pays and How Much?
- The Apartment Market in Estonia's Largest Cities in 2025
