Plastering for Beginners: Step-by-Step Guide to Smooth Walls
Do you notice every small unevenness on the walls as soon as the sun shines into the room? Quality plastering is the foundation of interior finishing that makes your home visually enjoyable and increases your property's market value without hiring a professional, helping you achieve a result that catches the eye in every property search.
Plastering may seem like dark and complicated work at first, but with the right techniques, it is manageable for every homeowner. This process requires patience and precision, but at the same time saves a significant amount from the renovation budget. If you have purchased a new home or found a suitable property, it may be just independent finishing work that gives the space its final polish and character.
Preparation is the basis for a perfect result
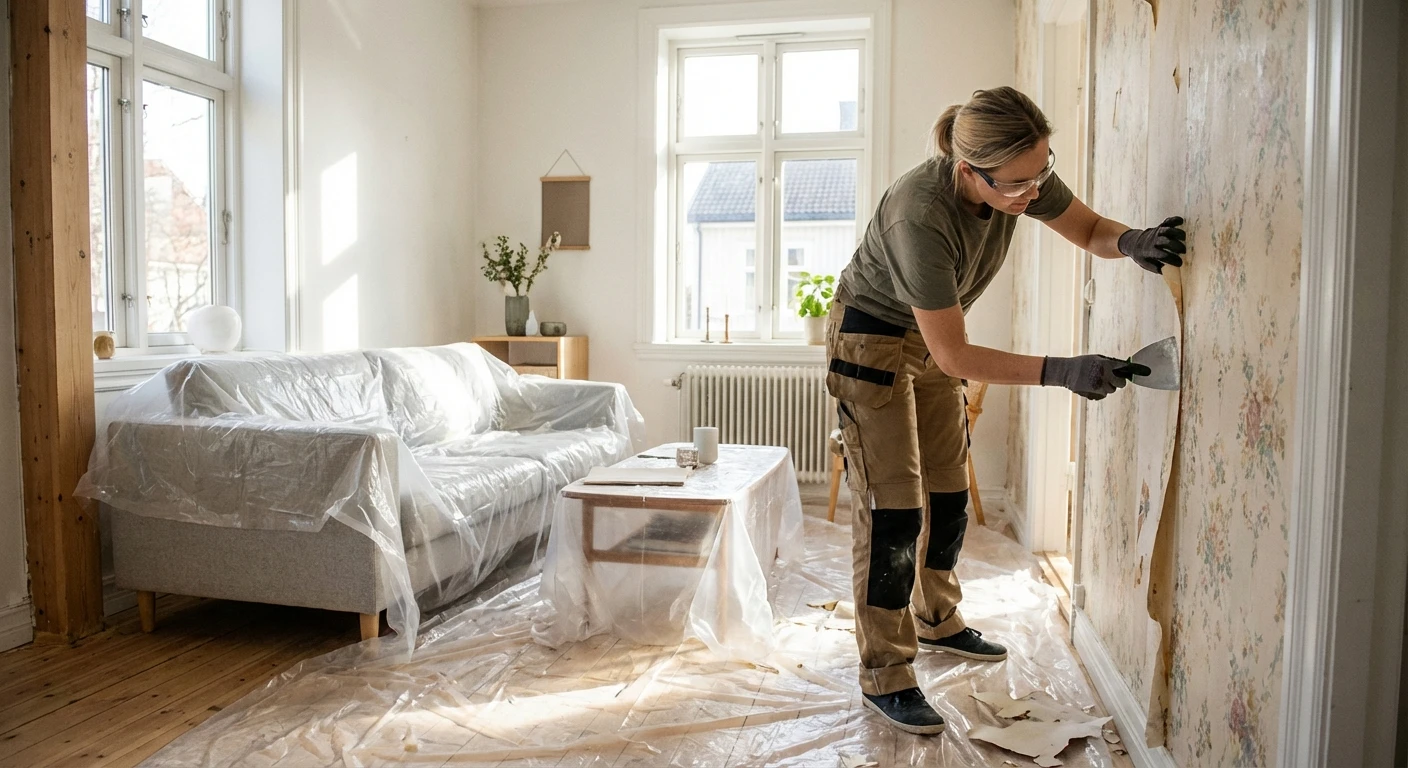
Before picking up the putty knife, you need to ensure that the base surface is clean and stable. If the wall has old wallpaper, it must be removed to prevent the putty from stretching or later peeling off. For this, it is useful to know how to remove wallpaper quickly and conveniently, using dampening or special steamers. After removing the wallpaper, wash the walls carefully of dust and adhesive residue, as any dirt is the biggest obstacle to adhesion between the putty and the wall.
A very important stage is priming the surface. Primer or adhesion improver seals the pores of the surface and ensures that the putty doesn't dry too quickly, which could otherwise cause cracking. If there are larger damages, it's worth first reading precise instructions on how to repair a hole in the wall, to avoid excessive shrinkage of the putty in deep places. Remember that in 2026, water-based primers with low volatile organic compound content are preferred, which are healthier.
Choosing the right putty and the first coat
There are different types of putty, and as a beginner, you need to distinguish between base putty and finishing putty. Base putty usually has a coarser blade and is intended for filling larger unevenness, while fine putty or finishing putty creates the final silky surface. If you plan renovations in moist rooms, be sure to choose a special moisture-resistant product. This is particularly critical if practical bathroom interior design is on your agenda, where the right material choice prevents later mold problems.
When applying the first coat, hold the putty knife at approximately a 45-degree angle and push the putty firmly into the wall. Don't try to achieve a perfectly smooth surface all at once, as multiple thin coats are always better than one thick coat. A thick layer of putty takes longer to dry and may crack or peel away from the wall as it dries. After the first coat, let the wall dry completely, which with 2026 modern mixes typically takes 4–12 hours depending on room temperature.
Sanding and finishing process
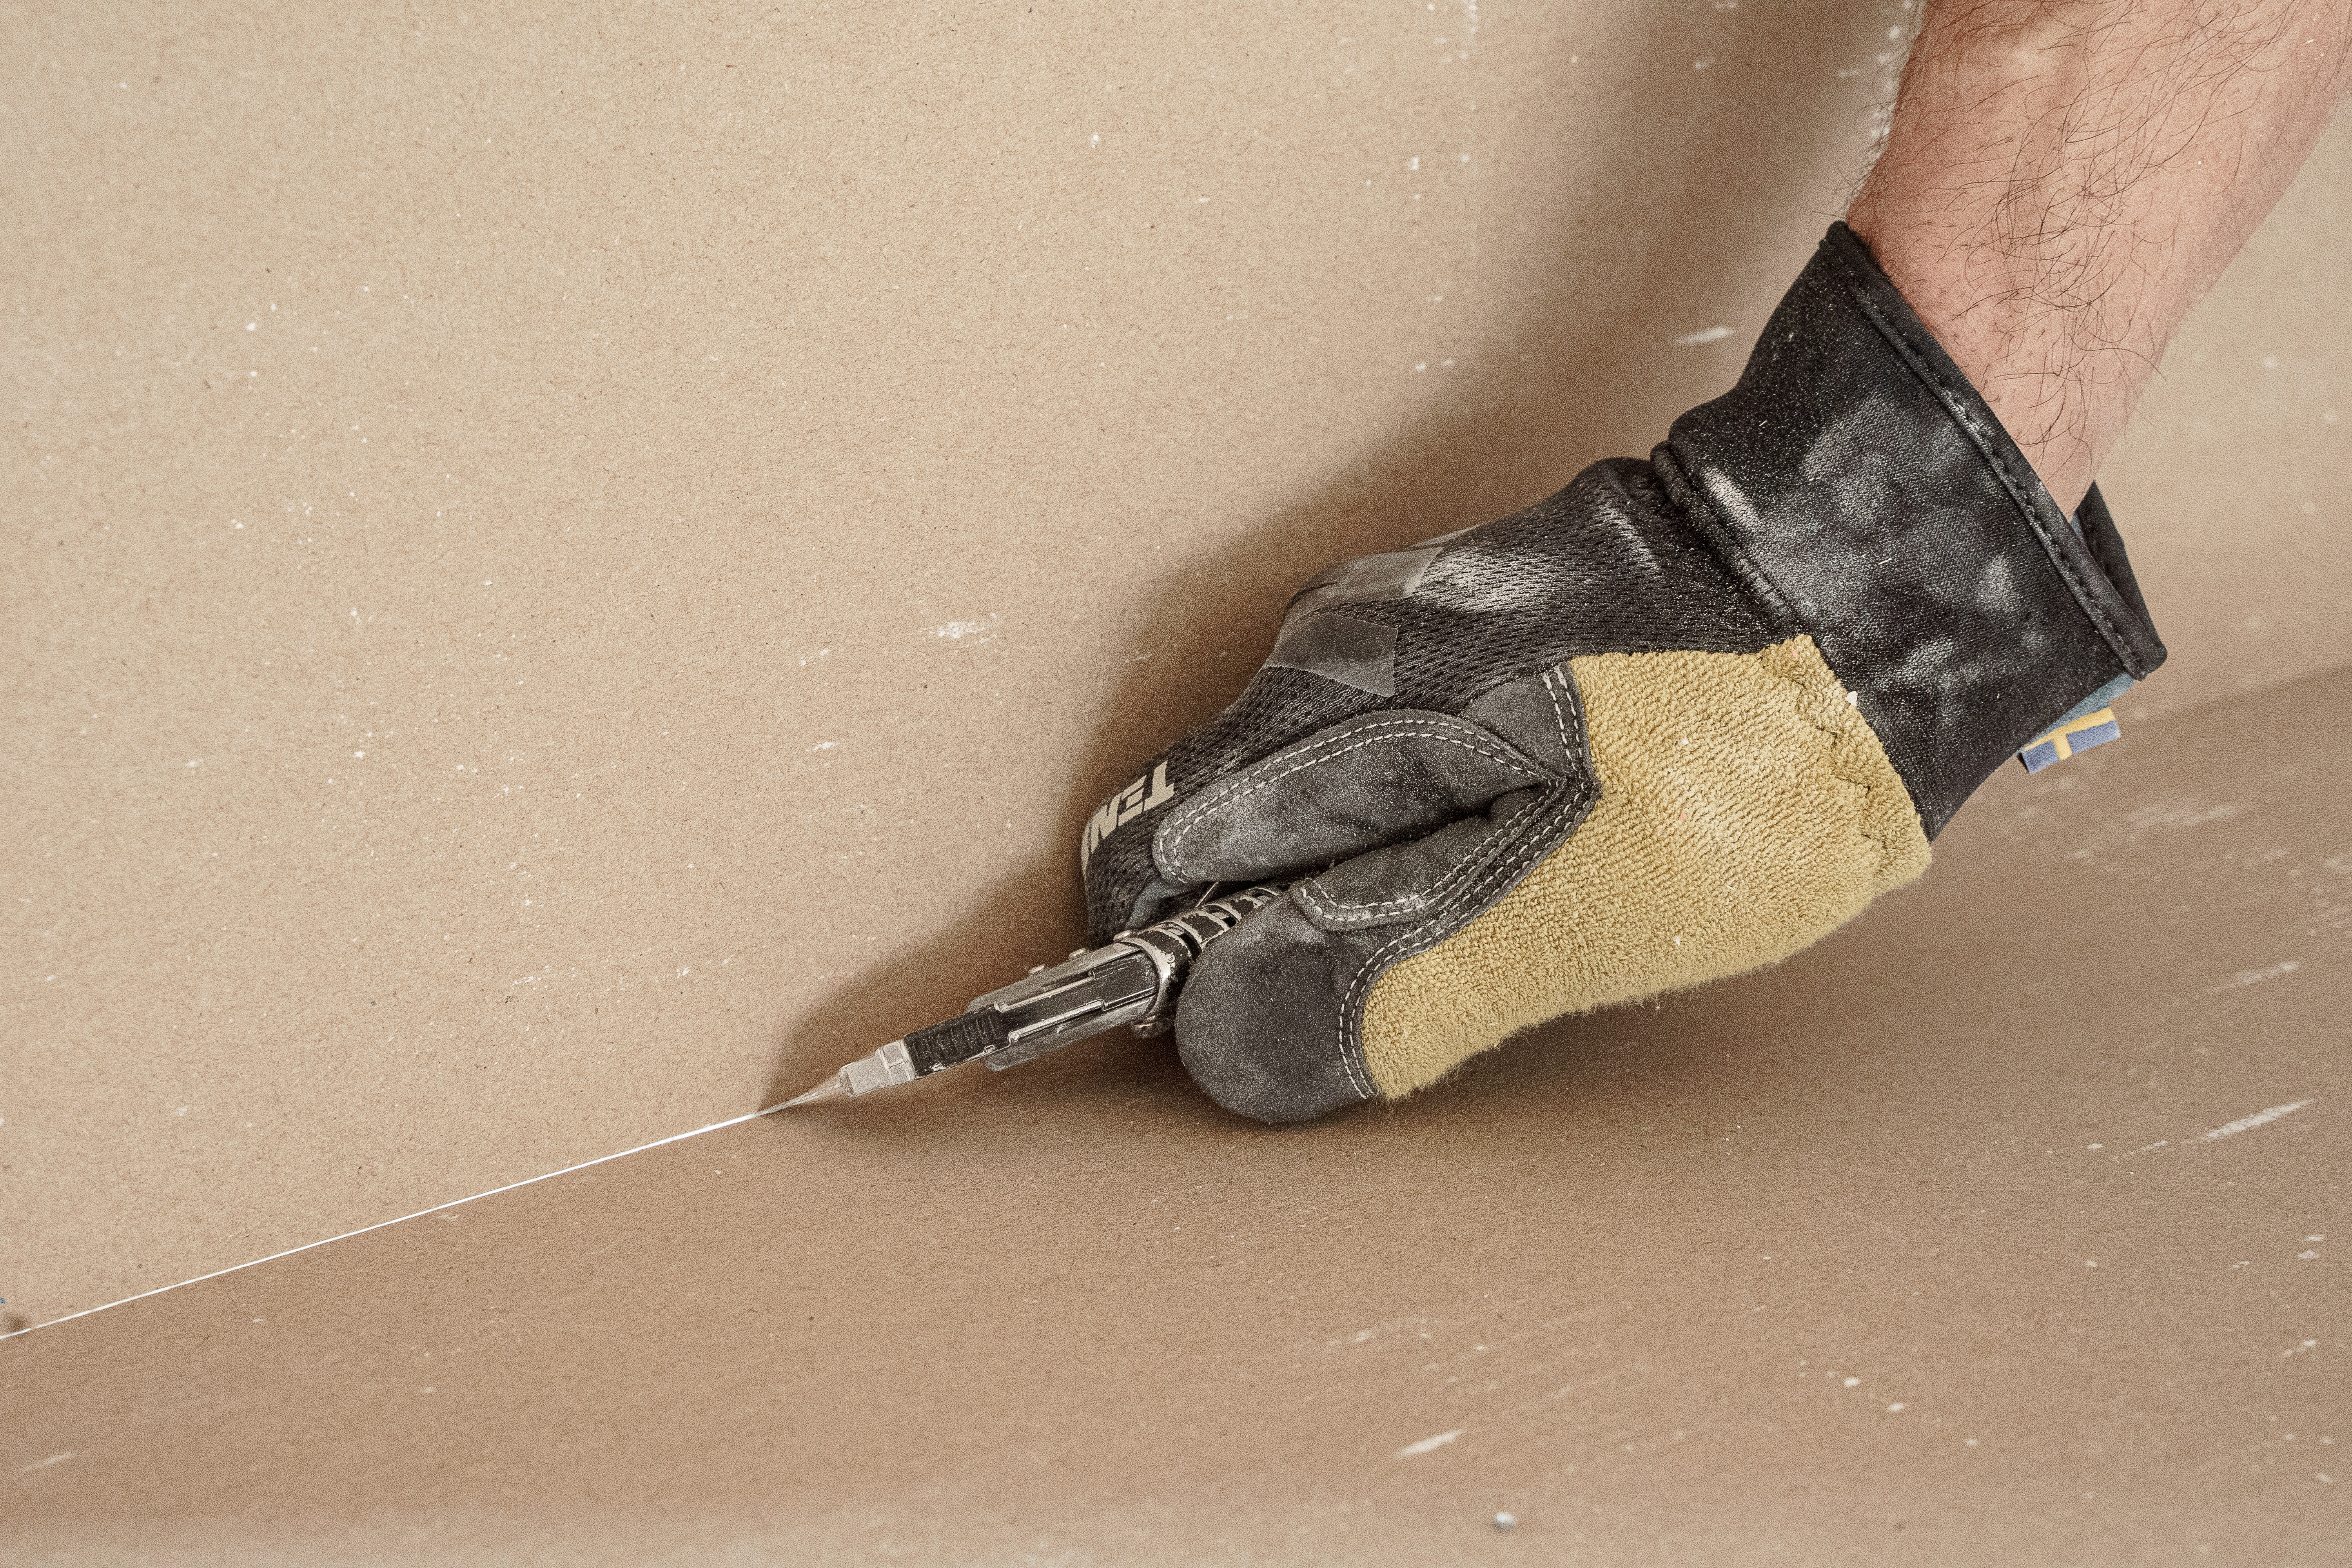
Once the putty is completely dry, sanding follows, which is the least favorite part of the renovation for many people due to the dust created. Use a sanding block and sandpaper of appropriate grit, starting with grit 120 and finishing with finer, 180–240 grit. Sand always with calm circular motions and avoid excessive pressure so you don't accidentally sand through the putty layer. To keep dust under control, it is recommended to use sanding boards that can be connected to a vacuum cleaner and to wear a respirator.
After sanding, clean the surface again of dust and evaluate the result with strong side lighting, which will reveal hidden defects. If you notice any remaining unevenness, apply another thin coat of finishing putty and repeat the process. A perfectly smooth wall is then ready for the final step. If you decide to go with painting, it is important to know how to choose the right color to achieve a durable and aesthetic result that increases your home's value, whether the goal is apartment sales or improving your living environment.
Common mistakes and how to avoid them
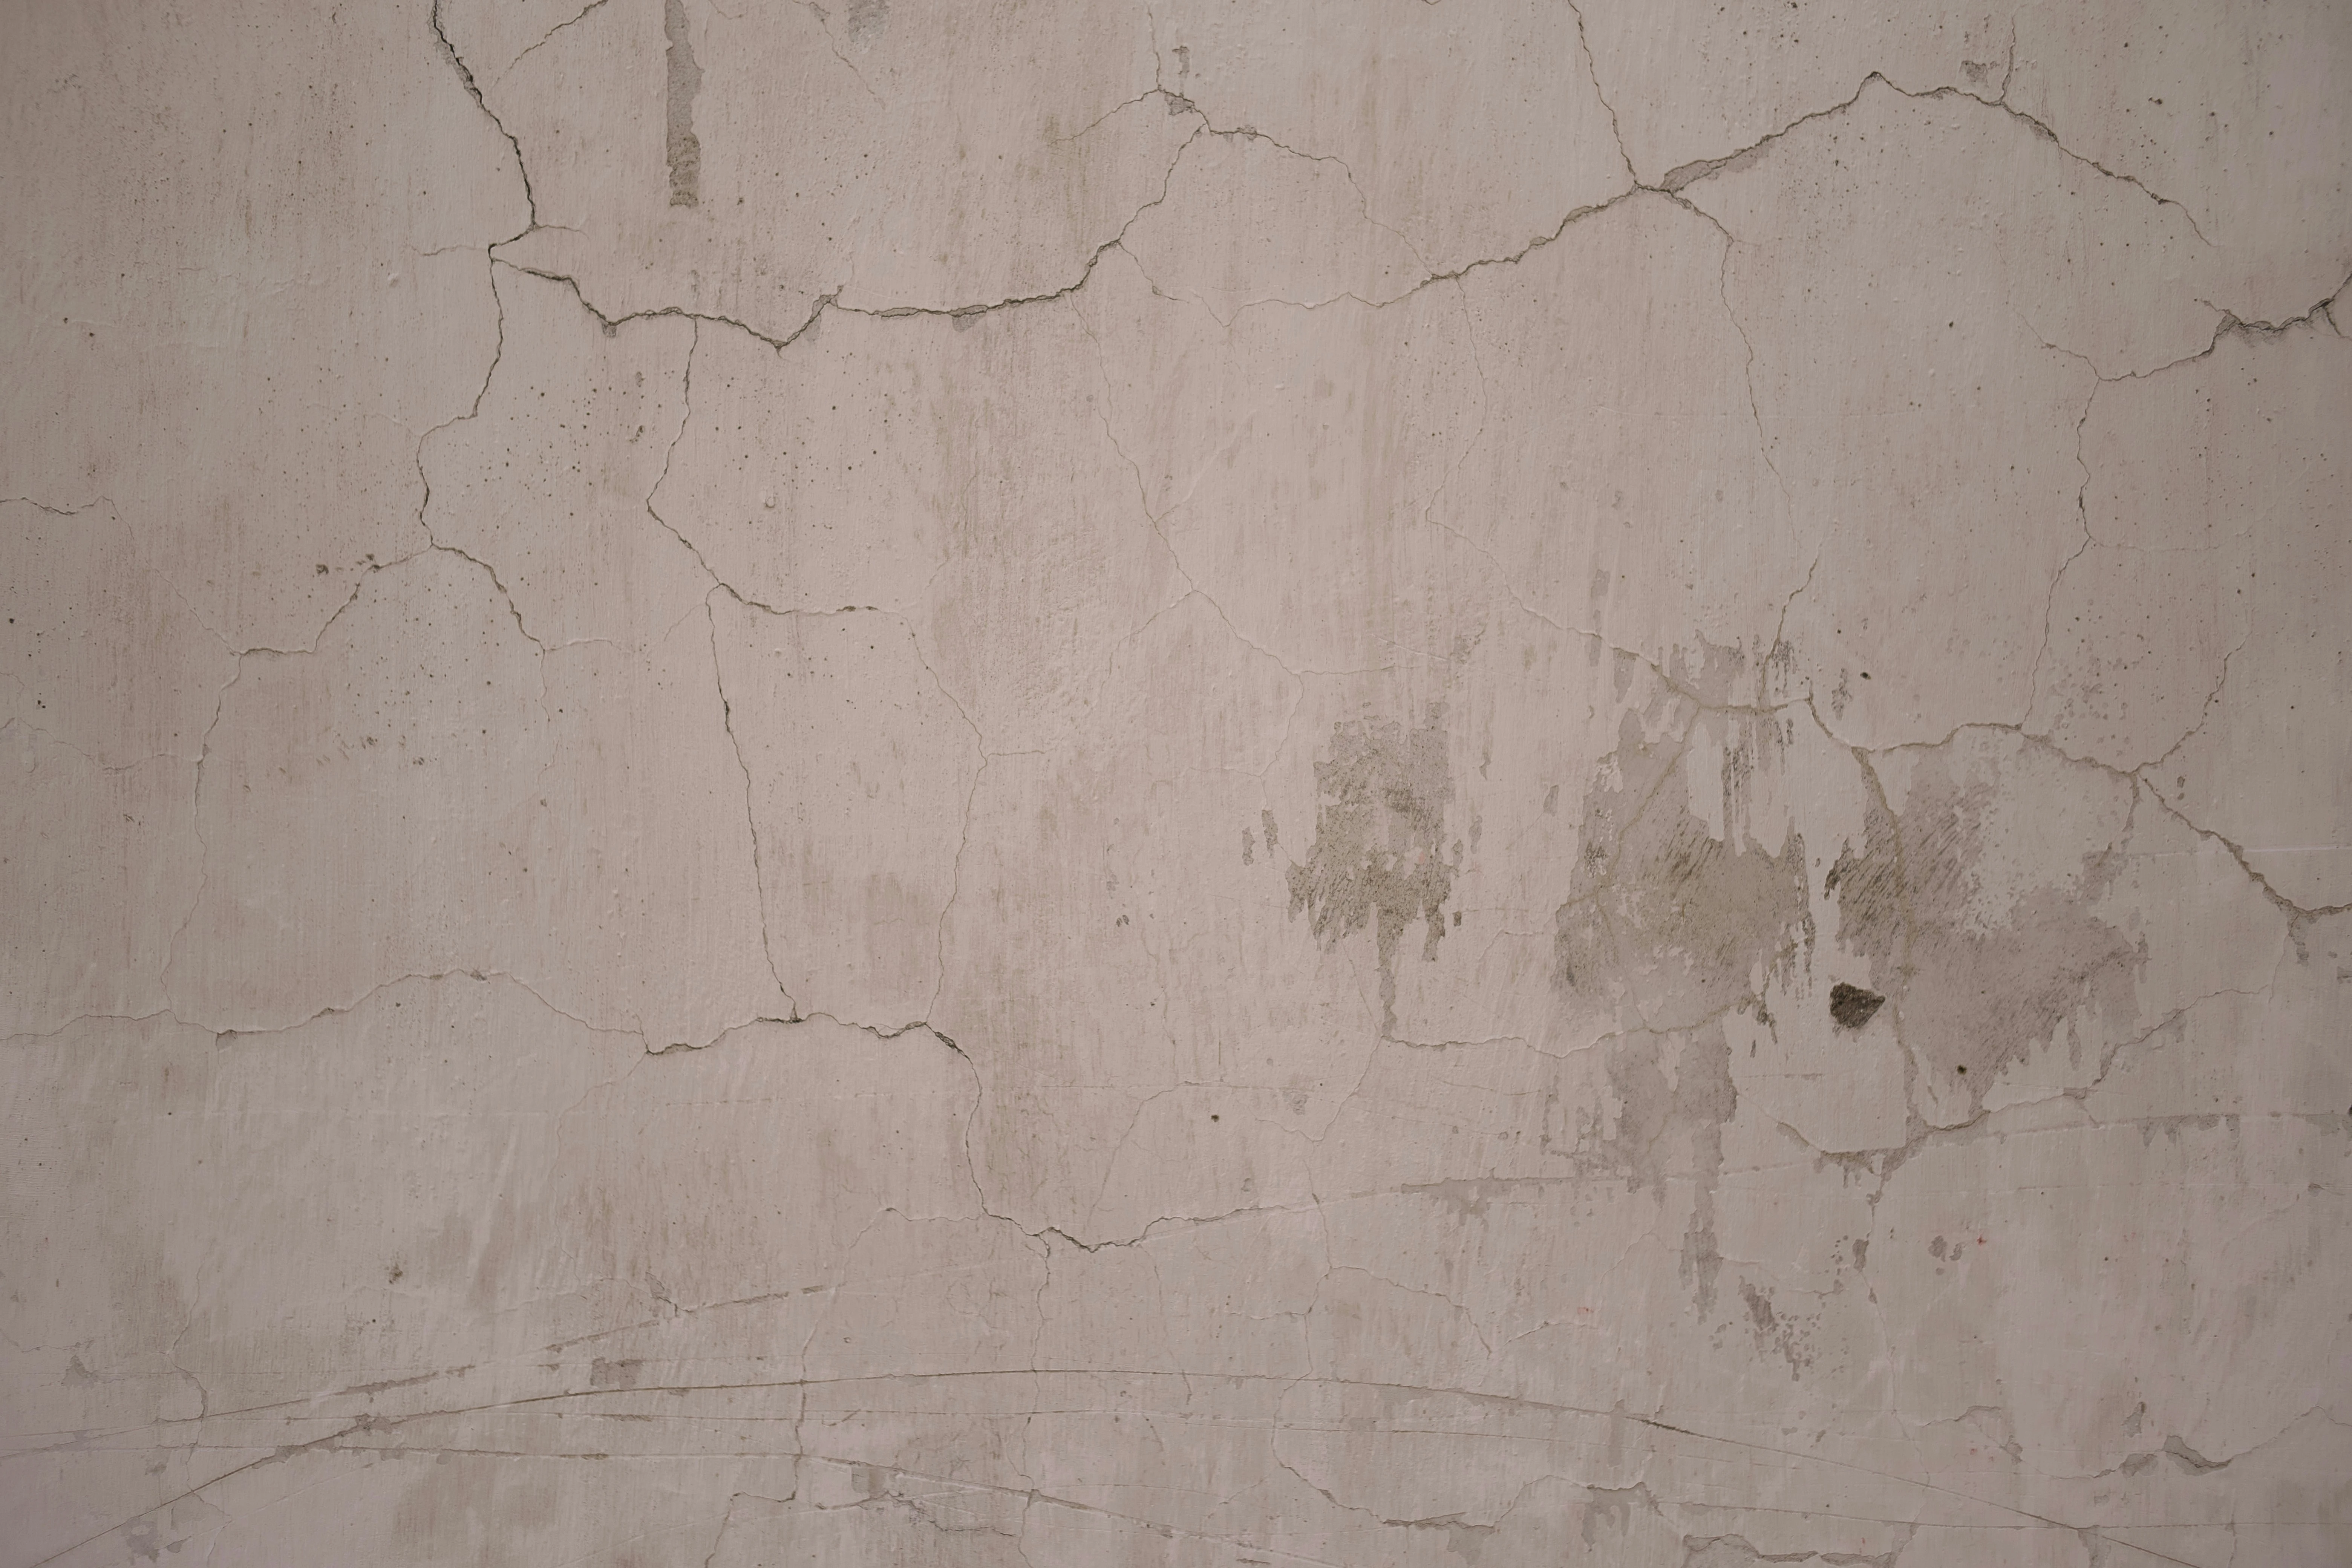
One of the most common mistakes is excessive haste, or applying the next coat before the previous one is completely dry. This causes the putty to blister and poor adhesion to the base surface. Another common mistake is skipping sanding between coats or doing it superficially. Every small mark from the putty knife will show through the paint later, and it is much harder to fix on the finished wall than during work.
It is always a worthwhile investment in a couple of quality stainless steel putty knives, as cheap and soft tools don't allow even pressure. Proper tools make the work faster and the result more professional, which is a big help if you want your apartment or house to stand out among listings. Well-executed plastering is an investment that always pays for itself in the form of a clean and correct final result.
Once you have successfully completed your home's finishing work and feel ready for new challenges, visit the Kinnisvara24 portal. There you will find the best offers for buying a new home and can, if you wish, also add your own listing, whether it's a house for sale or a rental apartment for new residents, reaching thousands of interested parties quickly.
Search
Keywords
Most read articles
- Price per Square Meter of Apartments in Tallinn in 2025

- Apartment Market in Early 2026: Prices Rising, Transaction Activity Remains Modest

- Apartment Market in Early 2026: Prices Rise, Transaction Activity Remains Modest
- Estonian Apartment Prices and Market Expectations in 2025

- Notary Fee and State Fee – Who Pays and How Much?