How to Avoid Common Mistakes When Painting Your Home
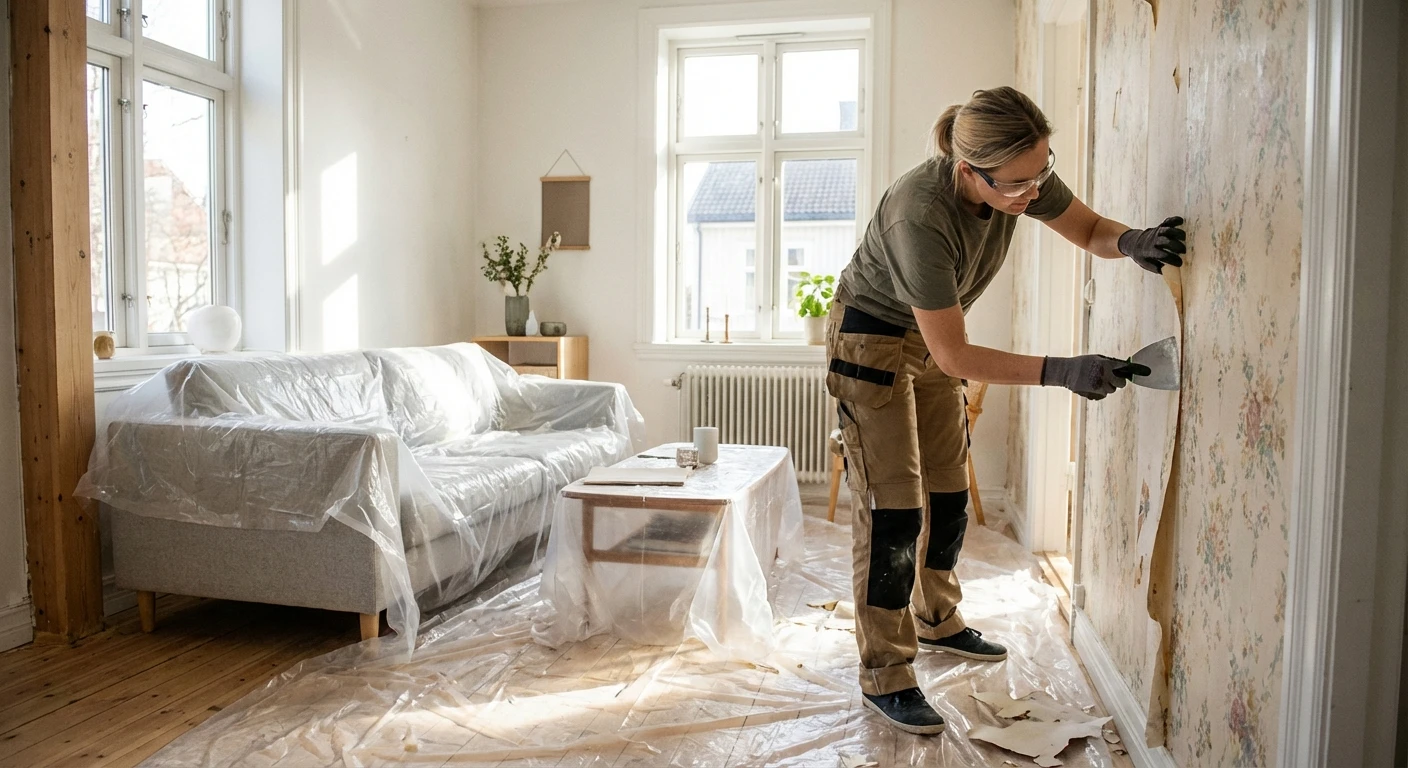
Did you know that inadequate surface preparation can reduce paint adhesion on a wall by as much as 50–70%? This means that by rushing to grab a brush, you may soon face peeling paint layers, which according to 2025 forecasts can be up to three times more expensive to fix than proper initial finishing.
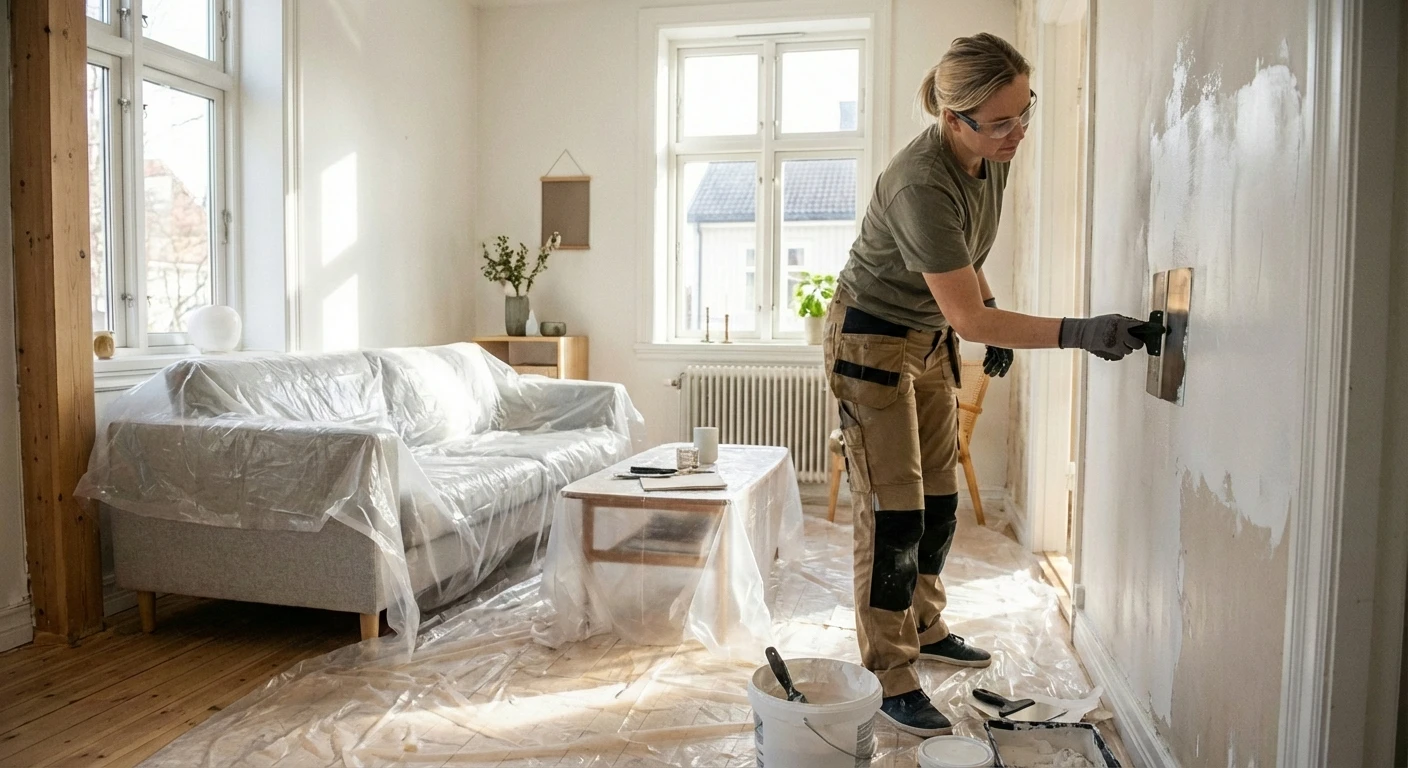
The most critical mistake that DIY enthusiasts make is neglecting or superficially carrying out surface preparation. Before starting to paint, walls must be thoroughly cleaned of dirt, dust, and grease, because even an invisible dust layer prevents paint from penetrating the surface. If the wall has old and cracked material, it is important to learn how to remove wallpaper quickly and conveniently to ensure a stable base for the new layer. In case of mechanical damage, holes must be filled with suitable putty and sanded completely smooth. To ensure that repaired areas don't become visible after painting, it's worth recalling effective methods for repairing wall holes, which ensure a uniform and flawless final result.
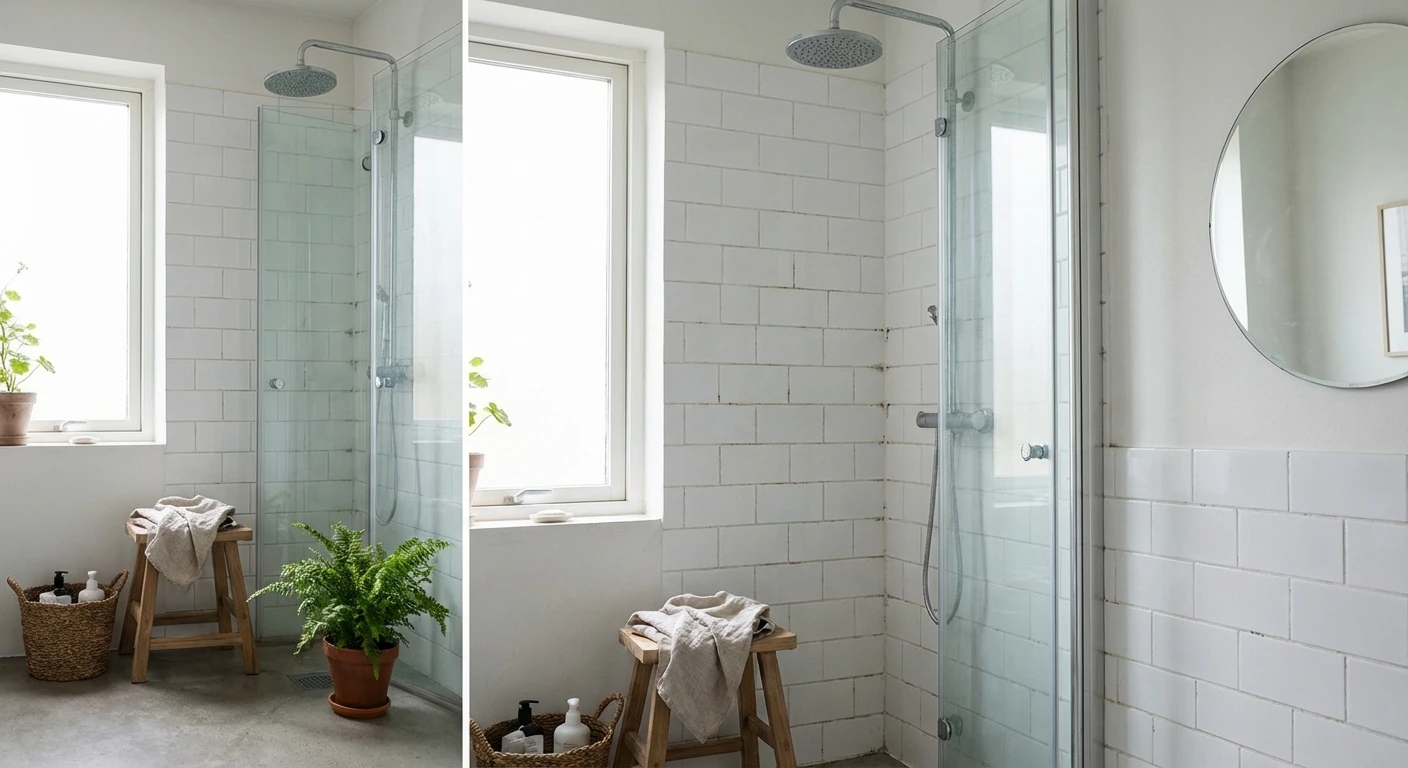
Another common mistake is choosing the wrong type of paint or sheen level without considering the room's specific characteristics. In kitchens and bathrooms, air humidity is significantly higher, so these rooms need semi-gloss or special moisture-resistant paint that tolerates frequent washing and prevents water vapor from penetrating the wall. This is especially important if you are planning a comprehensive renovation of an old house, where the moisture conditions of structures can be more complex than usual. Wrong choices can promote the growth of mold that causes health problems, so it's worth familiarizing yourself with guidelines for removing and preventing mold to create a sustainable and healthy indoor climate. In addition to practicality, aesthetics also play a role, where conscious application of color psychology principles helps choose tones that visually make a narrow room appear larger or create the necessary peace in a bedroom.
Neglecting primer is a step taken to save time and money, but often it ends up costing more paint instead. Primer is essential for new drywall or stained surfaces, as it equalizes the base surface's absorption and ensures clean color of the topcoat. Without primer, the result can remain blotchy even after three coats of paint. You should also monitor the surrounding environment during painting, as the optimal temperature for interior finishing is between 15–25 °C and humidity must stay below 85%. If the temperature drops below 10 °C, paint drying slows down noticeably, which can cause micro-cracking or insufficient surface adhesion.
A common mistake when applying paint is using layers that are too thick in hopes of finishing the work faster. However, this creates ugly drip marks and uneven texture, which spoils the overall appearance. Professionals always recommend applying two thin coats with sufficient drying time between them. Quality tools, such as rollers with the right bristle length and top-tier brushes, are a long-term investment that helps avoid streaking and bristles getting stuck in the paint.
With the right techniques and choice of materials, you create a home that remains fresh and beautiful for years, while significantly increasing the value of your property on the market. If you want to apply your new knowledge in creating a new home or are looking for inspiration for your next project, familiarize yourself with fresh offers and helpful tips on the Kinnisvara24 portal. Quality interior finishing is your home's business card, which begins with thorough planning and ends with execution worthy of a masterclass.
Search
Keywords
Most read articles
- Price per Square Meter of Apartments in Tallinn in 2025

- Apartment Market in Early 2026: Prices Rising, Transaction Activity Remains Modest
- Apartment Market in Early 2026: Prices Rise, Transaction Activity Remains Modest
- Estonian Apartment Prices and Market Expectations in 2025
- Notary Fee and State Fee – Who Pays and How Much?