How to Install Laminate Flooring Step by Step
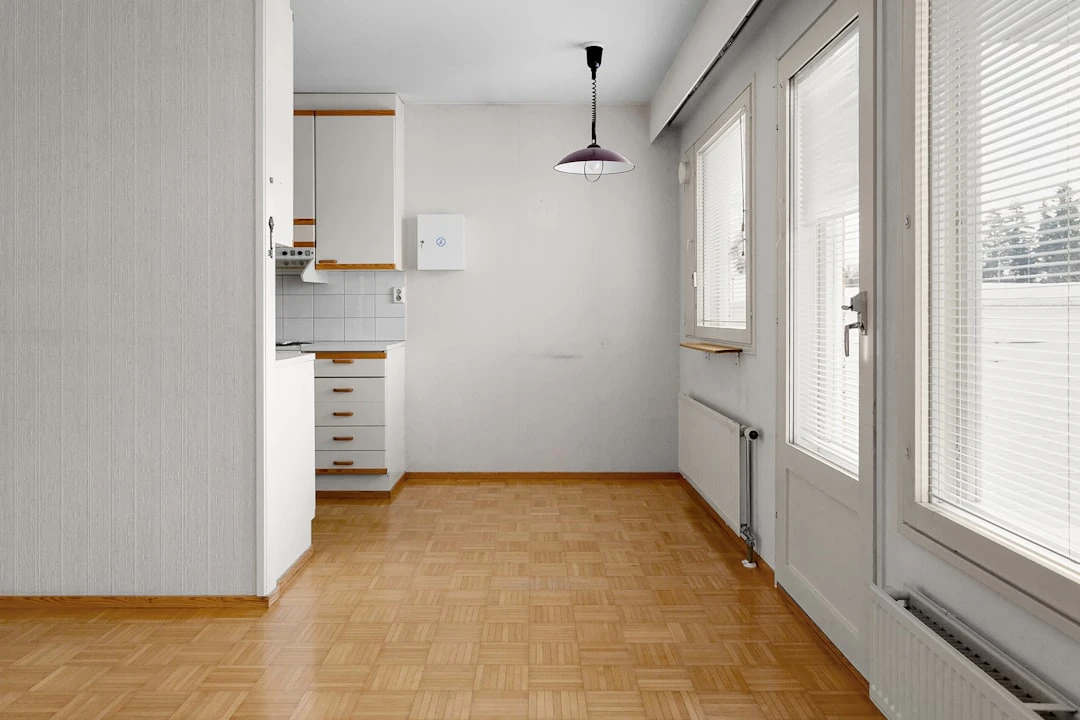
Laminate flooring is one of the most popular floor covering materials in Estonia, offering an affordable and practical solution for every home. Properly installed laminate looks stylish, is durable, and increases property value. Want to tackle laminate installation yourself? This guide provides you with all the necessary knowledge for successful implementation.
Laminate properties and advantages
Laminate is a multilayered floor covering material consisting of four main layers: the bottom moisture protection layer, a plywood core layer, a decorative layer, and a top wear-resistant layer. This very structure makes laminate a valuable material that offers numerous advantages.
Thanks to its durability, laminate withstands daily use well and is easy to maintain at the same time. Regular sweeping or vacuum cleaning, and occasional damp mopping, are sufficient. The range of laminate designs has expanded over the years, offering the possibility to imitate various wood types or even stone. Compared to natural wood flooring, laminate is significantly more affordable while maintaining an aesthetically pleasing appearance.
Calculating material quantity
Before going to the store, you need to calculate the required amount of material. Measure the room's length and width and multiply these numbers to get the room's area in square meters. Then add 5-10% to the result as material reserve for cutting and possible errors.
For example, if the room dimensions are 4 × 5 m, then the area is 20 m². Adding a 10% reserve, you need a total of 22 m² of laminate. The same amount of underlayment is also necessary, as it is installed under the laminate across the entire floor.
Work tools
Successful laminate installation requires the right tools:
A measuring tape and marking tools are essential for taking and marking accurate measurements. For cutting laminate, a handsaw or electric jigsaw is suitable, with the electric version significantly speeding up the work. A carpenter's hammer and a pull bar are indispensable helper tools for pulling laminate planks together tightly, especially when installing the last row.
Spacer wedges ensure a uniform expansion gap between the walls and laminate. A framing square helps make accurate measurements and markings. Don't forget personal protective equipment either – gloves to protect against cut edges and knee pads, as you'll spend a lot of time on your knees.
Surface preparation
Proper preparation is the foundation for successful installation. Start by removing the old floor covering and ensure the base surface is completely clean. Check the levelness of the base surface – irregularities should not exceed 3 mm per 2 meters. If you find unevenness, use a special leveling compound to level it.
For concrete floors, it's important to check the moisture level, which should not exceed 2%. Overly damp concrete can cause laminate to expand and become damaged. Finally, clean the surface thoroughly of dust and dirt.
If the floor has loose or creaky areas, it's recommended to repair them before installing the laminate. How to repair creaky doors and floors article provides useful tips for this.
Laminate installation methods
Laminate can be installed in several different ways, depending on the room's characteristics and desired aesthetic result.
1. Straight installation
Straight installation is the most traditional method, where laminate planks are installed parallel to the room's longer wall. This approach is the simplest and suits most rooms. The advantage of straight installation is ease of implementation and minimal material waste, as there is less cutting.
2. Diagonal installation
With diagonal installation, laminate planks are placed at a 45-degree angle to the room's walls. This method provides a visually interesting and distinctive result, making the room appear more dynamic optically. Diagonal installation, however, requires more skill and material waste is greater due to the need for more cutting.
3. Perpendicular installation
With perpendicular installation, laminate is placed perpendicular to the room's longer wall. This method is typically used when you want to visually expand the room. In narrow rooms, this can create an optical illusion of a more spacious room.
Types of base and their features
The specifics of laminate installation largely depend on the type of base surface.
Concrete floor
Concrete floor is one of the most common base surfaces in Estonian homes. With concrete, it's especially important to check the moisture level, as concrete retains moisture for a long time. Always use a moisture barrier (PE film) to prevent moisture from penetrating the laminate. For concrete floors, it's worth installing a thicker underlayment, which dampens sound and provides a more comfortable walking feel.
Wood floor
With a wooden floor, first ensure that the existing floor doesn't flex or creak. Secure loose boards with screws to ensure a stable base. A thin underlayment is sufficient for a wooden floor. Install laminate perpendicular to the existing wooden floor boards to avoid concentrating the load in the same places.
Heated floor
With underfloor heating, there are some additional nuances to consider. Use a special underlayment designed for heated floors, which ensures uniform heat distribution. Choose laminate that is marked as compatible with underfloor heating. Turn off the floor heating at least 24 hours before installation and after installation gradually raise the temperature, no more than 5°C per day.
Laminate floor installation step-by-step
Preparation
Start with preparation: let the laminate stand in the installation room for at least 48 hours so the material adapts to the room's temperature and humidity. Remove packaging only immediately before installation. Mix laminate planks from different packages so color variations are distributed evenly and the final result is natural.
Installing the base material
Clean the base surface carefully of dust and debris. Install a moisture barrier if necessary, leaving edges with 5-10 cm overlap and sealing them carefully. Then place the underlayment on the moisture barrier, leaving edges tight against each other but without overlap. The underlayment provides additional insulation, dampens noise, and evens out minor irregularities in the base surface.
Installing the first row
Start installation from the room's left corner. Place spacer wedges between the wall and laminate, typically leaving an 8-10 mm expansion gap. Install the first laminate plank so the groove faces the wall and the tongue faces the next plank. Connect the following planks together by placing the next plank's tongue into the first plank's groove and pressing down. The last plank must be cut to the correct size, again leaving the necessary expansion gap between the wall and the plank.
Installing subsequent rows
Start the second row with the cutoff piece from the first row if it's at least 30 cm long. This ensures that the joints of the planks don't run in a single line, which strengthens the floor's structure. Place the plank at approximately a 30-degree angle into the previous row's groove and press down. To install the next plank, connect it first to the previous plank from the end and then from the side, pressing the plank down. Continue the same way until the last row.
Installing the last row
Installing the last row requires precision. Measure the distance between the wall and the penultimate row, accounting for the expansion gap. Cut the laminate planks lengthwise to the correct width. When installing the last row, a pull bar is helpful to pull the planks together tightly.
Finishing
Once the laminate is installed, remove the spacer wedges. Then install floor molding to cover the expansion gaps at the walls. At doorways and at junctions of different floor coverings, use appropriate transition profiles that ensure a smooth transition and protect the laminate edges.
Common mistakes and how to avoid them
Installation often involves mistakes that can be avoided with awareness.
One of the most common errors is too small an expansion gap. Laminate expands and contracts with temperature and humidity changes, so it's always important to leave an 8-10 mm gap between the wall and the laminate. Otherwise, the floor may start to buckle or rise from the edges.
Another common mistake is insufficient preparation. An uneven base surface causes laminate movement, creaking, and long-term damage. Take time to properly prepare the base surface – it will pay for itself many times over later.
Don't ignore the laminate's need for adaptation time. The material must adapt to the room's conditions for at least 48 hours to avoid later deformation.
On concrete floors, using a moisture barrier is essential. Moisture that penetrates the laminate causes expansion, warping, and can lead to complete material failure.
Also avoid using too-short end planks. Laminate pieces under 30 cm in length won't stay in place properly and may come loose over time.
Safety requirements
When installing laminate, follow safety requirements to prevent injury.
Use personal protective equipment – knee pads protect your knees from becoming sore during prolonged kneeling, gloves protect your hands from sharp edges, and eye protection is necessary when cutting laminate.
Follow proper cutting technique. Use a saw suitable for cutting laminate and ensure the work surface is stable. Always cut away from yourself, not toward yourself.
Proper ventilation of the work area is important, especially if you use adhesives or other chemicals. Open windows or use a fan to ensure fresh air circulation.
When using power tools, ensure that cords are in a safe place and don't create a tripping hazard. If possible, use an extension cord that you can secure to the floor.
Keep the work area tidy to avoid falls and injuries. Regularly clean up laminate scraps and other materials that could cause tripping.
Final notes
Laminate floor installation is achievable for many homeowners, but still requires precision and patience. By carefully planning the work and following the instructions above, you can enjoy a beautiful and durable floor that will last for years.
If you're looking for a new home with quality laminate flooring already installed, check out apartments in Tallinn offers. Our portal offers a wide selection of real estate with various floor coverings. Home maintenance can also be helped by our other practical tips, such as how to prevent mold in the bathroom or simple ways to prevent clogging in your home.
Search
Keywords
Most read articles
- Price per Square Meter of Apartments in Tallinn in 2025

- Estonian Apartment Prices and Market Expectations in 2025

- Apartment Market in Early 2026: Prices Rising, Transaction Activity Remains Modest

- Notary Fee and State Fee – Who Pays and How Much?
- The Apartment Market in Estonia's Largest Cities in 2025
