How to Install a Greenhouse Comfortably and Professionally
Do you want to install a greenhouse in your garden, but don't know how to start? In this article, we'll discuss how to install a greenhouse comfortably and with quality, without excessive hassle. We share practical tips and recommendations that will help you make informed choices regarding materials and solutions, so that the end result is durable, visually appealing, and brings value to your dining table.
Why install a greenhouse in your garden?
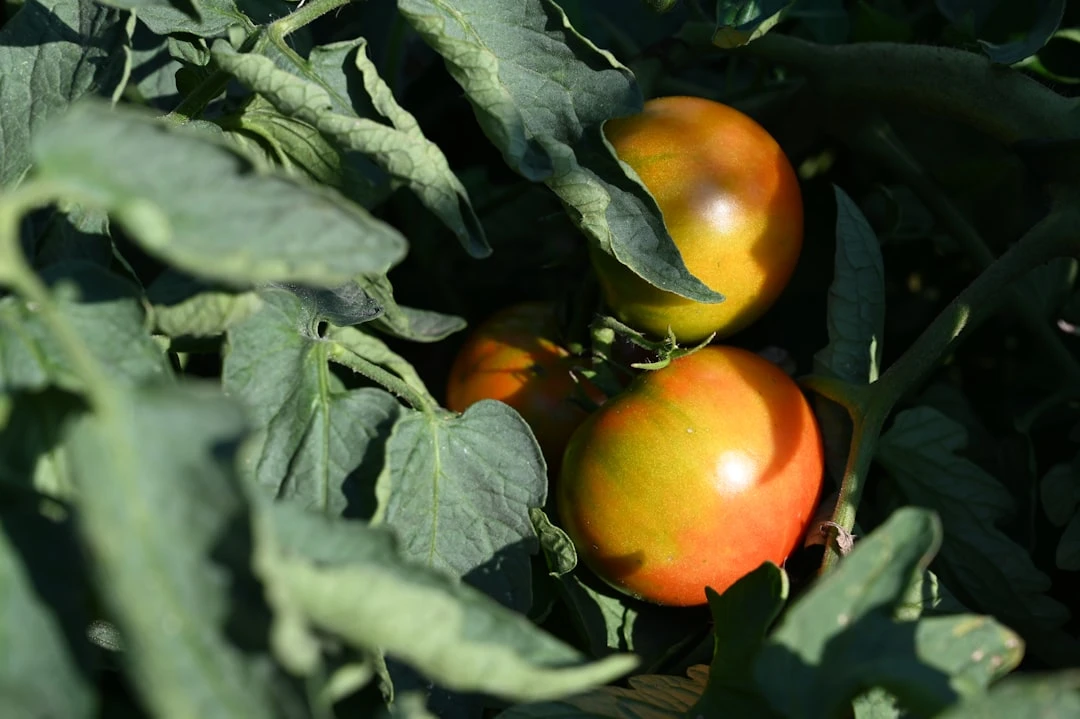
A greenhouse offers the opportunity to extend the growing season and cultivate plants that wouldn't otherwise grow in Estonia's climate. It's an investment that enriches your home garden and brings more fresh produce to your dining table. In 2025, the popularity of greenhouses in Estonia has grown, as more and more people want to grow their own food and spend time in their gardens.

In addition to its practical value, a greenhouse also creates mental well-being – it's an oasis where you can enjoy greenery and connection with nature even in autumn and early spring, when harsh weather prevails outdoors. Many of our customers have said that working in a greenhouse is like a form of meditation for them, helping them escape from everyday life.
Types of greenhouses and their installation specifics
Glass greenhouses
Glass greenhouses are a classic choice that offers excellent light transmission and aesthetic appearance. They are well suited for permanent installation and are durable over the years. Glass greenhouses create a special architectural element in garden design, reminiscent of a small winter garden.
Installation specifics:
Requires a strong foundation, preferably concrete poured or blocks
Installation of glass panels requires precision and experience
Professional installation ensures long-term durability and safety
Also suitable for integration to the side of a house in winter garden style
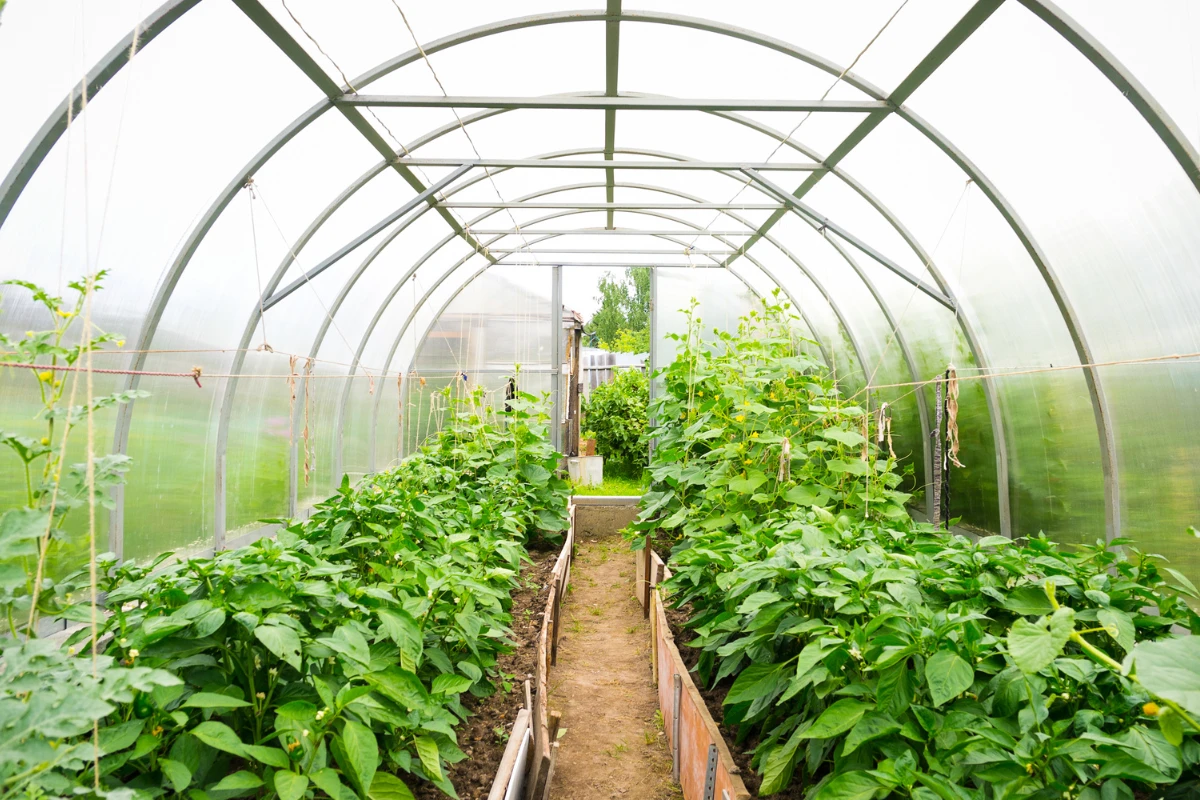
Polycarbonate greenhouses
Polycarbonate greenhouses are today's most popular choice due to their light weight, good thermal insulation, and easy installation. The material retains heat better than glass, so the season is longer and energy consumption is lower.
Installation specifics:
Easier to install than glass greenhouses
Suitable for self-installation by someone with medium skill level
Need to be secured against strong winds with proper anchoring
Panels are lighter, so they can be installed solo
Film tunnels
Film tunnels are an affordable and quick solution that works well for seasonal use or for gardeners with smaller budgets. They are ideal if you want to start gardening without making large investments.
Installation specifics:
Quick installation, often possible to complete in one day
Don't require a permanent foundation, proper anchoring is sufficient
Require regular maintenance and film replacement every couple of years
Easy to dismantle and relocate if needed
Greenhouse installation stages
1. Planning and location selection
Before installing a greenhouse, it's important to choose the right location. The ideal greenhouse location should:
Receive at least 6 hours of sunlight per day, preferably from morning to afternoon
Be protected from strong winds, for example by buildings or hedges
Be located near a water source to simplify watering
Consider the location of landscape elements
Our local specialists will help you choose a greenhouse location, taking into account both practical and aesthetic aspects. Good planning is the basis of successful greenhouse installation – it determines both productivity and user comfort for years to come.
2. Foundation preparation
Depending on the type of greenhouse, the foundation can be:
Poured concrete – provides maximum stability and longevity
Made of concrete blocks – easy to install and sufficiently strong
A special anchoring system – suitable for lighter structures
The foundation must be absolutely level so that the greenhouse structure rests evenly on it. Our teams use precise measuring instruments and ensure foundation quality, which is the basis of greenhouse stability and durability.
3. Greenhouse structure installation
Professional installation ensures that:
The frame is stable and straight, without stress or twisting
Doors and windows open easily and close tightly
Air vents function correctly, providing necessary ventilation
Installers use quality tools and follow manufacturer instructions precisely to ensure structure strength and resistance to Estonia's harsh weather conditions.
4. Covering material installation
Depending on the chosen greenhouse type, the following are installed:
Glass panels – require careful handling and special fasteners
Polycarbonate sheets – require proper installation direction and expansion space
Greenhouse film – must be evenly tensioned and firmly fastened
Professional covering material installation ensures maximum light transmission, thermal retention, and resistance to weather effects.
5. Furnishing and additional equipment
For a perfect greenhouse experience, you can add:
Automatic watering systems – keep plants optimally moisturized
Ventilation systems – regulate temperature and humidity levels
Shelves and work surfaces – make work in the greenhouse more comfortable
Shading systems – protect plants from excessive sun on hot summer days
Specialists will advise you on the best additional equipment choices, taking into account your needs and preferences.
Tools and tips needed for self-installation
If you prefer to install the greenhouse yourself, you'll need the following tools:
Cordless drill and screwdriver set with various bits
Spirit levels and measuring tape for accurate measurements
Shovel and rake for foundation preparation
Rubber mallet for installing delicate parts
Work gloves and safety glasses for safety
Important tips:
Start work in the morning when the wind is weaker and the temperature is moderate
Call in at least one helper, especially when installing large panels
Follow manufacturer instructions exactly to not lose warranty
Check structure stability before installing covering materials
Make a thorough plan and schedule before starting, also taking into account the weather forecast
Greenhouse maintenance after installation
After installation, it's important to regularly:
Check fasteners and connection points, especially after strong storms
Clean roof panels to maximize light transmission and extend material lifespan
Monitor ventilation and humidity to ensure optimal growing conditions
Ensure adequate watering, preferably using automated solutions
Regular maintenance extends the greenhouse's lifespan and ensures better productivity. We recommend inspecting the greenhouse at least twice a year – in spring before the growing season begins and in autumn after it ends.
Summary
Installing a greenhouse may seem complicated at first glance, but with the right knowledge and preparation, it's entirely doable even if you do it yourself. Hopefully, this article gave you a clearer picture of where to start and what to pay attention to so that the result is durable and practical. If you're looking for more useful tips on home and garden topics, feel free to visit the Kinnisvara24 blog, where we regularly share inspiration and practical information.
Search
Keywords
Most read articles
- Price per Square Meter of Apartments in Tallinn in 2025

- Estonian Apartment Prices and Market Expectations in 2025
- Apartment Market in Early 2026: Prices Rising, Transaction Activity Remains Modest

- Notary Fee and State Fee – Who Pays and How Much?
- The Apartment Market in Estonia's Largest Cities in 2025
