How to Fix a Hole in a Wall
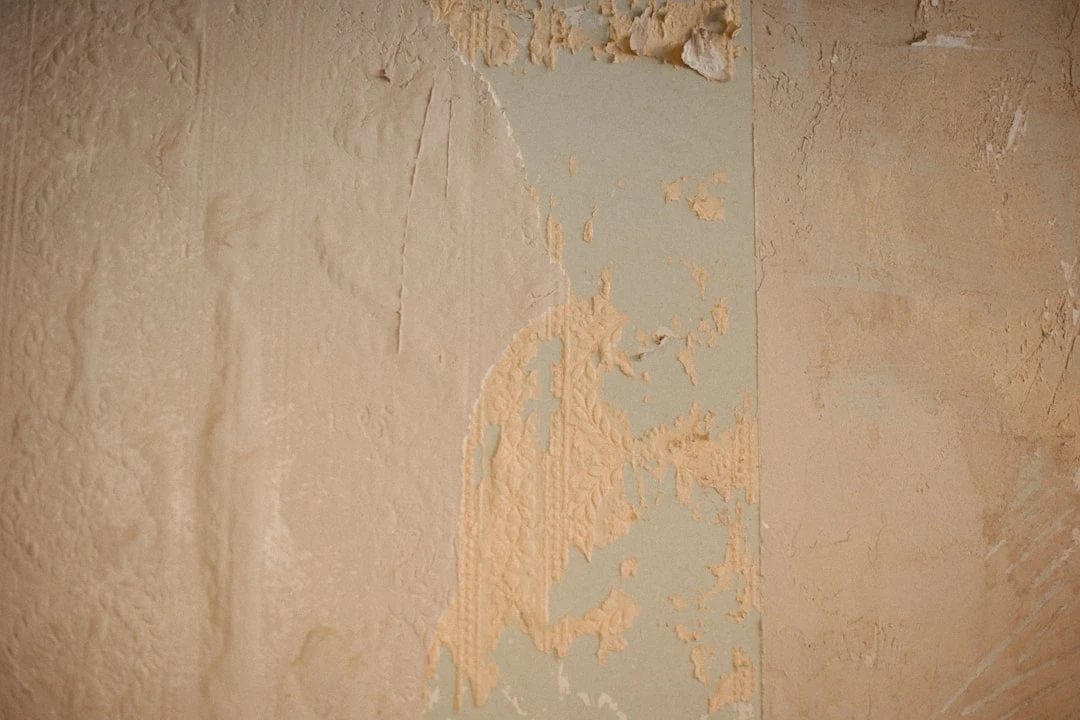
Who hasn't experienced an unpleasant moment when a hole appears on the wall – whether it's an accidental damage, a result of moving furniture, or simply a defect that has developed over time. Wall holes are one of the most common home problems that every homeowner or tenant faces sooner or later. Fortunately, repairing most wall holes is a simple job that even a beginner DIY enthusiast can handle.
Different wall materials and their characteristics
Before we start repairing the hole, it's important to know what wall material we're dealing with, as each material requires a slightly different approach.
Drywall
Drywall is one of the most common wall materials today, especially in new developments. Apartments in Tallinn and apartments in other Estonian cities often have walls made of drywall.
Drywall is practical, but at the same time also an easily damaged material. Fortunately, holes in drywall are relatively easy to repair. For smaller holes, special putty is usually sufficient, while for larger holes, reinforcement mesh may be needed to ensure strength.
Plaster
Older buildings often have plastered walls, which are more durable but also more difficult to repair.
The advantage of plastered walls is their strength compared to drywall. When repairing, you often need to use special plaster mix that matches the existing material on the wall. After the work, the repaired surface may also need to be textured to match the rest of the wall.
Concrete
Concrete walls are a more complicated matter, as it's a very strong material.
Concrete is extremely durable and holes usually only appear as a result of using special tools or strong impacts. However, if a hole has occurred, it requires concrete putty or mix for repair, which is specially designed for such material.
Required tools and materials
Depending on the size of the hole and the wall material, you will need the following tools and materials:
For repairing small holes (diameter up to 5 cm)
Repairing small holes is a simple process that doesn't require many specialized tools. You mainly need a putty knife or spatula to apply putty precisely into the hole. Additionally, you'll need sandpaper of varying grits – start with coarser (120) and finish with finer (240) sandpaper. To remove dust, use a dust brush or damp cloth, and if you plan to repaint the wall, then a paint brush or roller.
From materials you need wall putty (either designed for drywall or universal putty, depending on the wall), matching paint, and possibly primer to ensure even paint coverage.
For repairing medium holes (diameter 5-15 cm)
To repair medium holes, in addition to the aforementioned tools, you'll also need a knife or scissors to cut reinforcement mesh or tape. Reinforcement mesh is an important element that ensures the strength and durability of the repair.
From materials, in addition to putties, you'll also need reinforcement mesh or tape, matching paint, and primer.
For repairing large holes (diameter over 15 cm)
Repairing larger holes requires more thorough preparation and more tools. In addition to putty knife, sandpaper, and paint tools, you'll also need a screwdriver, if it's drywall where you need to install a new piece of drywall.
From materials, for drywall walls you need a piece of drywall, for plaster walls plaster mix and for concrete walls concrete putty. You'll also need reinforcement mesh, drywall screws (for drywall), matching paint and primer.
Step-by-step instructions for hole repair
Repairing drywall holes
Repairing small holes (up to 5 cm)
Start by cleaning the hole, removing all loose pieces and dust. Then fill the hole with putty, using a putty knife and pressing the putty deep into the hole. The putty should fill the entire hole without air bubbles.
After filling the hole, smooth the surface by sliding the putty knife along the wall to remove excess putty. Let the surface dry according to the instructions on the putty package (usually 2-4 hours). Once the putty has dried, sand it smooth until it's level with the rest of the wall. Finally, prime and paint the repaired area.
Repairing medium holes (5-15 cm)
Repairing medium holes follows similar steps, but with the addition of using reinforcement mesh. After cleaning the hole, cut the reinforcement mesh slightly larger than the hole itself. Place the mesh over the hole and attach it to the wall either with putty or according to product instructions.
Cover the mesh and hole with putty, pressing it deep into the hole and use a putty knife to achieve a smooth surface. Let the putty dry according to the instructions and if necessary, apply a second coat. Once the putty has fully dried, sand the repaired area smooth, then prime and paint it.
Repairing large holes (over 15 cm)
Repairing a large hole is the most complicated, but by following these steps, you can manage it. Start by cleaning the hole, removing loose pieces and dust. Then cut a piece of drywall that is slightly smaller than the hole itself. Place the piece of drywall into the hole and secure it with screws or putty.
Cover the joints with reinforcement mesh to prevent future cracks. Then cover the entire repaired area with putty, using a putty knife to achieve a smooth surface. Let the putty dry and if necessary, apply a second coat. Once the putty has fully dried, sand the repaired area smooth, then prime and paint it.
Repairing plaster wall holes
Repairing plaster walls also starts with cleaning the hole, removing loose pieces and dust. Unlike drywall, plaster adheres better to a damp surface, so lightly dampen the hole before applying the plaster mix.
Prepare the plaster mix according to the instructions on the package and fill the hole using a putty knife. It's important to replicate the texture of the surrounding wall so the repair isn't noticeable. Let the plaster fully dry and then prime and paint the repaired area.
Repairing concrete wall holes
Repairing concrete wall holes is similar to repairing plaster wall holes. After cleaning the hole, lightly dampen it to ensure better adhesion of the concrete putty. Prepare the concrete putty mix according to the instructions on the package.
Fill the hole with concrete putty using a putty knife and slide the knife along the wall to achieve a smooth surface. Concrete putty drying may take longer than regular putty, so follow the instructions on the package. Once the putty has dried, sand the repaired area smooth if necessary, then prime and paint it.
Safety guidelines
When repairing wall holes, keep in mind the following safety guidelines:
To protect against dust, wear a dust mask, especially when sanding the wall to avoid inhaling harmful particles. Also wear safety glasses, especially when removing loose pieces, to protect your eyes from possible flying debris.
Before starting any larger work, check that there are no electrical wires or pipes in the wall. If in doubt, use special detectors or consult a professional.
When working on high walls or ceilings, use a stable ladder or work platform and avoid excessive stretching. Always follow the instructions for tools and materials to ensure both your safety and that of your household.
Time and costs
Time required
Repairing a small hole usually takes 1-2 hours, including putty drying time. Repairing a medium hole can take 2-4 hours and repairing a large hole 4-8 hours or more, depending on the extent of the damage and the wall material.
Estimated costs (as of 2025)
The material cost for repairing a small hole usually stays within 10-20 euros, primarily covering putty and sandpaper costs. Repairing a medium hole may cost 20-40 euros, accounting for putty, reinforcement mesh, and paint costs. Repairing a large hole can reach 40-100 euros, depending on the amount of materials needed.
Common problems and their solutions
Putty cracks after drying
If putty starts to crack after drying, the solution is to use more elastic putty or add reinforcement mesh to increase strength. Cracks often occur when putty is applied too thickly – try applying putty in thin layers and let each layer dry properly before applying the next one.
Repaired area stands out from the wall
If the repaired area differs from the rest of the wall, it's likely the surface hasn't been sanded smooth enough or the paint color doesn't match exactly. The solution is to sand the surface again and use paint samples to find the exact color match. With old paint, it may also be necessary to paint a larger wall area.
Poor putty adhesion
If the putty doesn't adhere properly to the wall, clean the hole thoroughly of dust and loose pieces. If necessary, use primer before applying putty, especially on smooth or finished surfaces.
When to call a professional?
Although you can handle most wall hole repairs yourself, there are situations where it's worth calling a professional:
If the hole is very large (over 30 cm in diameter) or if the wall has damage to the load-bearing structure, it may be safer to leave the work to an expert. Also, if there are electrical wires or pipes near the damage, the risk of DIY is too high.
In case of signs of water damage or mold, it's also recommended to call a specialist who can identify and solve the root cause of the problem. Additionally, if you lack the necessary tools or skills, hiring a professional can save both time and nerves.
To find professional help, you can contact real estate agents who can recommend reliable repair workers, or if your house needs more thorough renovation, it may be wise to explore apartment association renovation loan options.
Useful tips for preventing wall holes
Prevention is always easier than repair. Use door stops to prevent door frames from hitting the wall, especially if you have children or pets in the house who might open doors forcefully.
Install corner guards in places where furniture might damage the wall, such as corridors or narrow passageways. Be careful when moving furniture and if necessary, use aids such as furniture casters or special lifting equipment.
When hanging heavy items on walls, use anchors and screws that are suitable for the specific wall material. For drywall, it's especially important to use special drywall anchors to avoid damaging the wall.
Final words
Wall holes are annoying, but a solvable problem that any homeowner may encounter. With the right tools, materials, and knowledge, most holes can be repaired quickly and easily, making your home aesthetically pleasing again.
If you prefer professional help, you can always explore real estate company services who can recommend reliable repair workers or offer solutions for more comprehensive renovations.
Regular home maintenance is the best way to prevent major problems from occurring. In addition to repairing wall holes, it's worth regularly doing other home maintenance tasks, such as washing machine cleaning and dishwasher cleaning.
Now it's time to grab your tools and make your home perfect again!
Search
Keywords
Most read articles
- Price per Square Meter of Apartments in Tallinn in 2025

- Estonian Apartment Prices and Market Expectations in 2025

- Apartment Market in Early 2026: Prices Rising, Transaction Activity Remains Modest

- Notary Fee and State Fee – Who Pays and How Much?
- The Apartment Market in Estonia's Largest Cities in 2025
