How to Build Your Own Vegetable Garden
So you've decided to grow vegetables in your own garden this year?
We wholeheartedly approve, because working in a vegetable garden:
- reduces stress and chases away worries;
- gives you a good feeling of accomplishment, since the results of your work are visible to the eye;
- provides pleasant physical exercise;
- and might even save you a bit of money.
By the way, you don't have to grow vegetables in a real garden. A sunny balcony or terrace will do just as well.
In this article, however, we'll focus on a garden located on a real plot of land.
Choose a location for your beds
When choosing a location, there are actually four things you should consider.
- Sunlight. Most vegetable plants need at least 6 hours of sunlight to produce juicy and tasty fruits. That's why you should place your beds in a nice, sunny spot.
- Wind. It would be good if your vegetable garden isn't in a very windy location, as strong wind damages plants.
- Distance from the house. Place your beds closer to the house, so it's convenient to grab some dill or lettuce before lunch.
- Watering. Make sure watering is easy to arrange and you don't have to drag hoses too far.
And here's one final bonus tip for choosing a location:
be clever and place your vegetable beds in a spot that's clearly visible from your terrace or another place where you like to sit and relax. On the one hand, this will motivate you to keep the beds free of weeds, and on the other hand, the lush and daily growing plants will provide plenty of visual pleasure.
Determine the size of your beds and choose the bed type
Our recommendation is to start with a smaller rather than a larger bed area. Otherwise, it will only cause extra stress when halfway through summer you realize your energy won't take you that far.
Once you've roughly settled on the size, choose the bed type: traditional, raised, or box bed.
For a traditional bed, there's no trick other than digging through the soil and mixing manure or compost into the earth. The manure should have been sitting for at least six months, as fresher material can scorch the plants.
A raised bed makes sense if the soil is rocky or clay-based. It's difficult to grow plants in such soil, so it's worthwhile to construct the bed itself from more solid material.
At the base of the bed, place smaller branches, leaves, hay, or mowed grass. On top of this goes a layer of decomposed manure or compost, and finally a mixture of growing peat and good black soil.
A box bed is also worth constructing if your garden has poor quality soil. But this type of bed has many other advantages too. For example, you can harvest from boxes earlier, they're easier to maintain, and such garden beds look very neat.
If you're placing a box bed on the ground, you don't need a bottom for it—boards or light blocks laid out as a border will suffice. If the box bed goes on a terrace or balcony, it should of course have a bottom.
The recommended height for a box bed is 50–80 cm. Suitable fill material is growing peat mixed with solid black soil.
With a box bed, you need to make sure that ants don't nest in it. This can happen especially during the period when the box doesn't yet have plants, since they like dry and warm soil. Later, when you start watering and their life becomes uncomfortable, they'll likely move on.
Regardless of which bed form you choose, don't make it wider than 1 meter. This way you can reach it from both sides to water and harvest without stepping on the bed.
Arrange your beds in a north-south direction, so the plants get the most sun.
Don't forget wide pathways
If you feel like a tightrope walker between your beds, then your pathway is too narrow. You should be able to walk there comfortably. Some people even like pathways so wide that a garden cart or lawn mower can fit through.
Grass-covered pathways certainly look very nice, but they require more maintenance. The most convenient option is a soil path, which you can keep free of weeds by occasionally hoeing it.

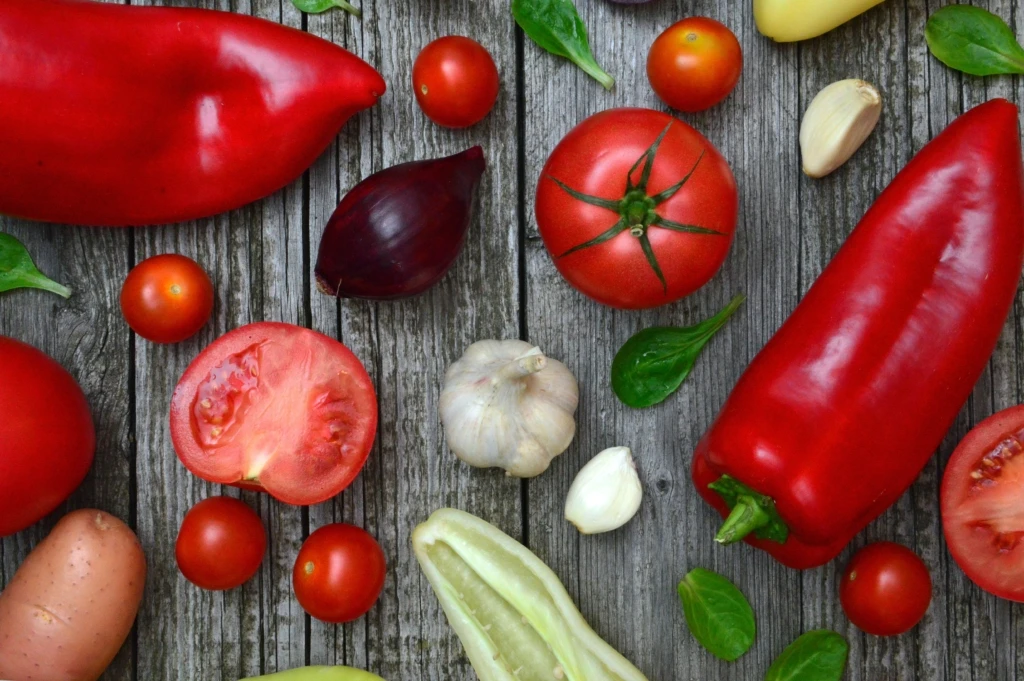
Choose seeds and plants
Here, follow your taste and desires. If you want to taste the first fruits already quite early in the summer, sow radishes and dill, for example.
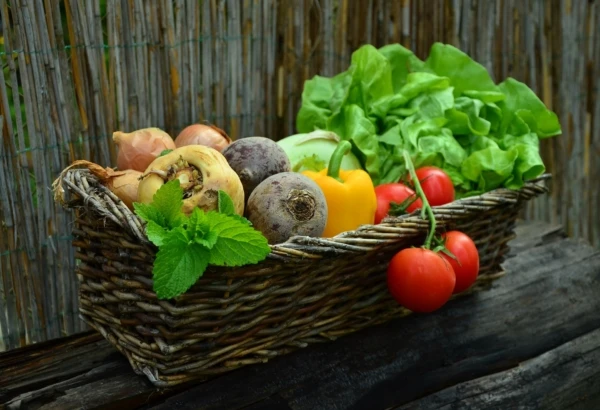
It's also nice to pick carrots from your own garden in the middle of summer to put in soup or just to munch on. The important thing is to properly thin out the carrot plants after they emerge from the soil, so the roots have room to grow.
Growing beans, peas, parsley, and similar plants also doesn't require any special skills or effort.
Growing cucumbers is perhaps considered somewhat more complicated by others. To find out how to do it successfully, you can learn from this video, where Kaja and Lauri Nebel reveal their successful cucumber growing secrets.
Sow the seeds
Draw small furrows in your bed with a stick or wooden rod and water the bottom of the furrow.
Now take your seed packet and read at what intervals and to what depth you need to sow the seeds. Make sure you don't hide them too deep in the soil.
Don't forget to water
Plants need good soil to grow, plenty of sun, and sufficient water. If the summer happens to be dry, water your bed thoroughly once a week. A cucumber bed needs more frequent watering—thirsty plants will let you know by drooping leaves.
Raised and box beds need more attention and watering, as they dry out faster. To keep strawberry and pumpkin beds moist, you can mulch them with straw or mowed grass.
And now all that's left is to keep your beds free of weeds, water them from time to time, and very soon you'll be tasting your first fruits.
In putting together this article, we were helped with advice by Riima Randviir, the head gardener of Muhu Porcelain Garden.
Search
Keywords
Most read articles
- Price per Square Meter of Apartments in Tallinn in 2025

- Estonian Apartment Prices and Market Expectations in 2025

- Apartment Market in Early 2026: Prices Rising, Transaction Activity Remains Modest

- Notary Fee and State Fee – Who Pays and How Much?
- The Apartment Market in Estonia's Largest Cities in 2025
