How to Build a Windmill

A windbox, or soffit box, is an important part of the roof that plays a significant role in both the aesthetic appearance and functionality of your home. A well-built windbox is not just a beautiful addition to your home, but also protects the roof structure from wind, water, and snow. In the following guide, we highlight everything you need to build a windbox that meets Estonian climate and building requirements.
What is a windbox and why is it needed?
A windbox is part of the roof elements that protects the roof edge and directs water away from the house walls and foundation. Its main functions are protection from wind, water, and snow, ensuring air circulation under the roof structure, providing an aesthetic finish to the roof, and improving the building's thermal insulation.
A properly built windbox helps extend the roof's lifespan and protects your house structure from damage that can be caused by excessive moisture. This is particularly important in Estonia's changeable climate, where humidity and temperature fluctuations can significantly affect building structures.
Required materials and tools
Materials:
Wood material (preferably spruce or pine)
Building board (OSB or plywood)
Fasteners (nails, screws, bolts)
Wind barrier material
Breathable underlayment
Gutters and downspouts
Paints or wood protection products
Sealant material
Tools:
Saw (hand saw or electric saw)
Hammer or cordless drill
Measuring tape and level
Pencil and chalk line
Ladder or scaffolding
Screwdriver
Square
Staples and wood screws
All materials and tools must be of high quality and comply with building standards. Using cheap or low-quality materials can result in a shorter lifespan for the windbox and potential problems in the future.
Step 1: Measurement and planning
Before starting construction work, it is important to take accurate measurements. Start by measuring the roof eaves and determining the width of the windbox. This typically ranges from 20-40 cm, depending on the roof design and building architecture. Then calculate the amount of material needed, adding 10% as a reserve in case of waste or measurement errors.
Make a detailed drawing or plan showing all connection points and structural details. This helps prevent errors during the construction process and ensures that all components fit together properly.
Before building, it's also worth familiarizing yourself with similar solutions. You can find useful ideas in factory-built houses, which are designed taking into account Estonia's climate and building practices.
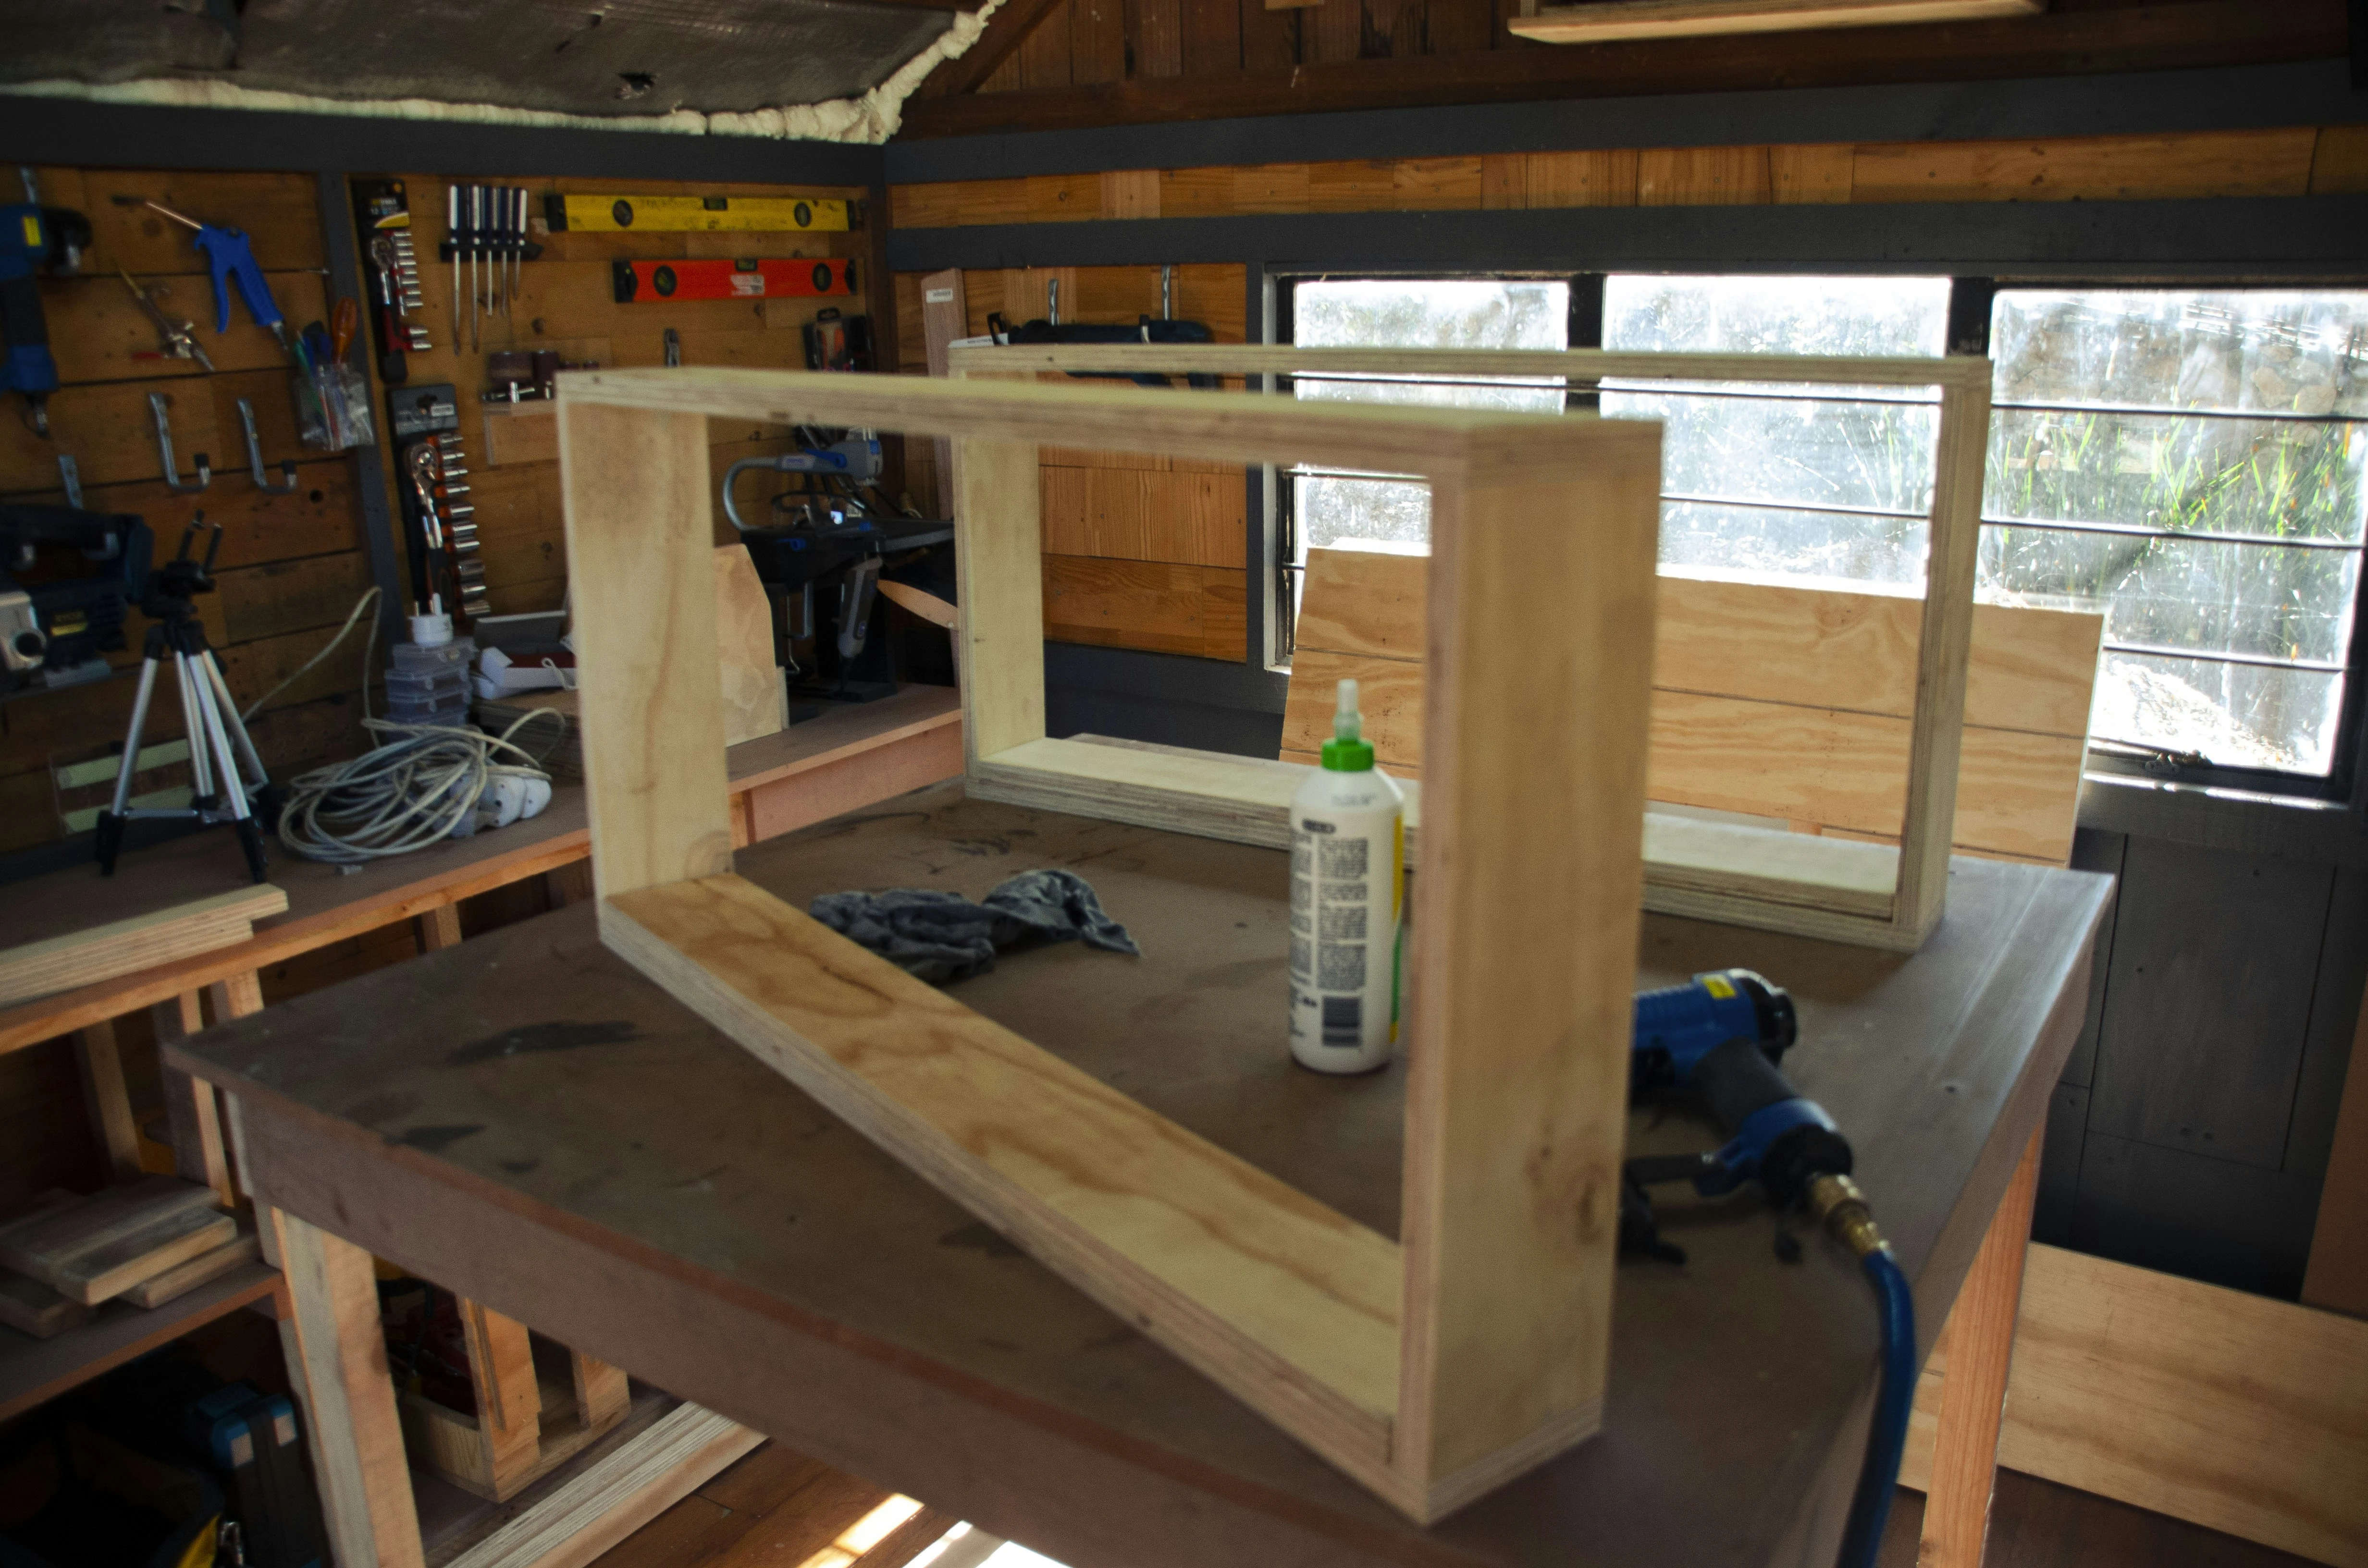
Step 2: Preparing the wood structure
Begin structural preparation by cutting rafter extensions or consoles according to measurements. It is important to treat the wood with wood protection products right from the beginning, as later access to structural parts may be difficult. Proper wood protection ensures long-term resistance to weather effects.
Carefully mark attachment points on the wall and rafter ends so that installation proceeds smoothly. If possible, use a waterproof marker or pencil that won't fade at the first rainfall.
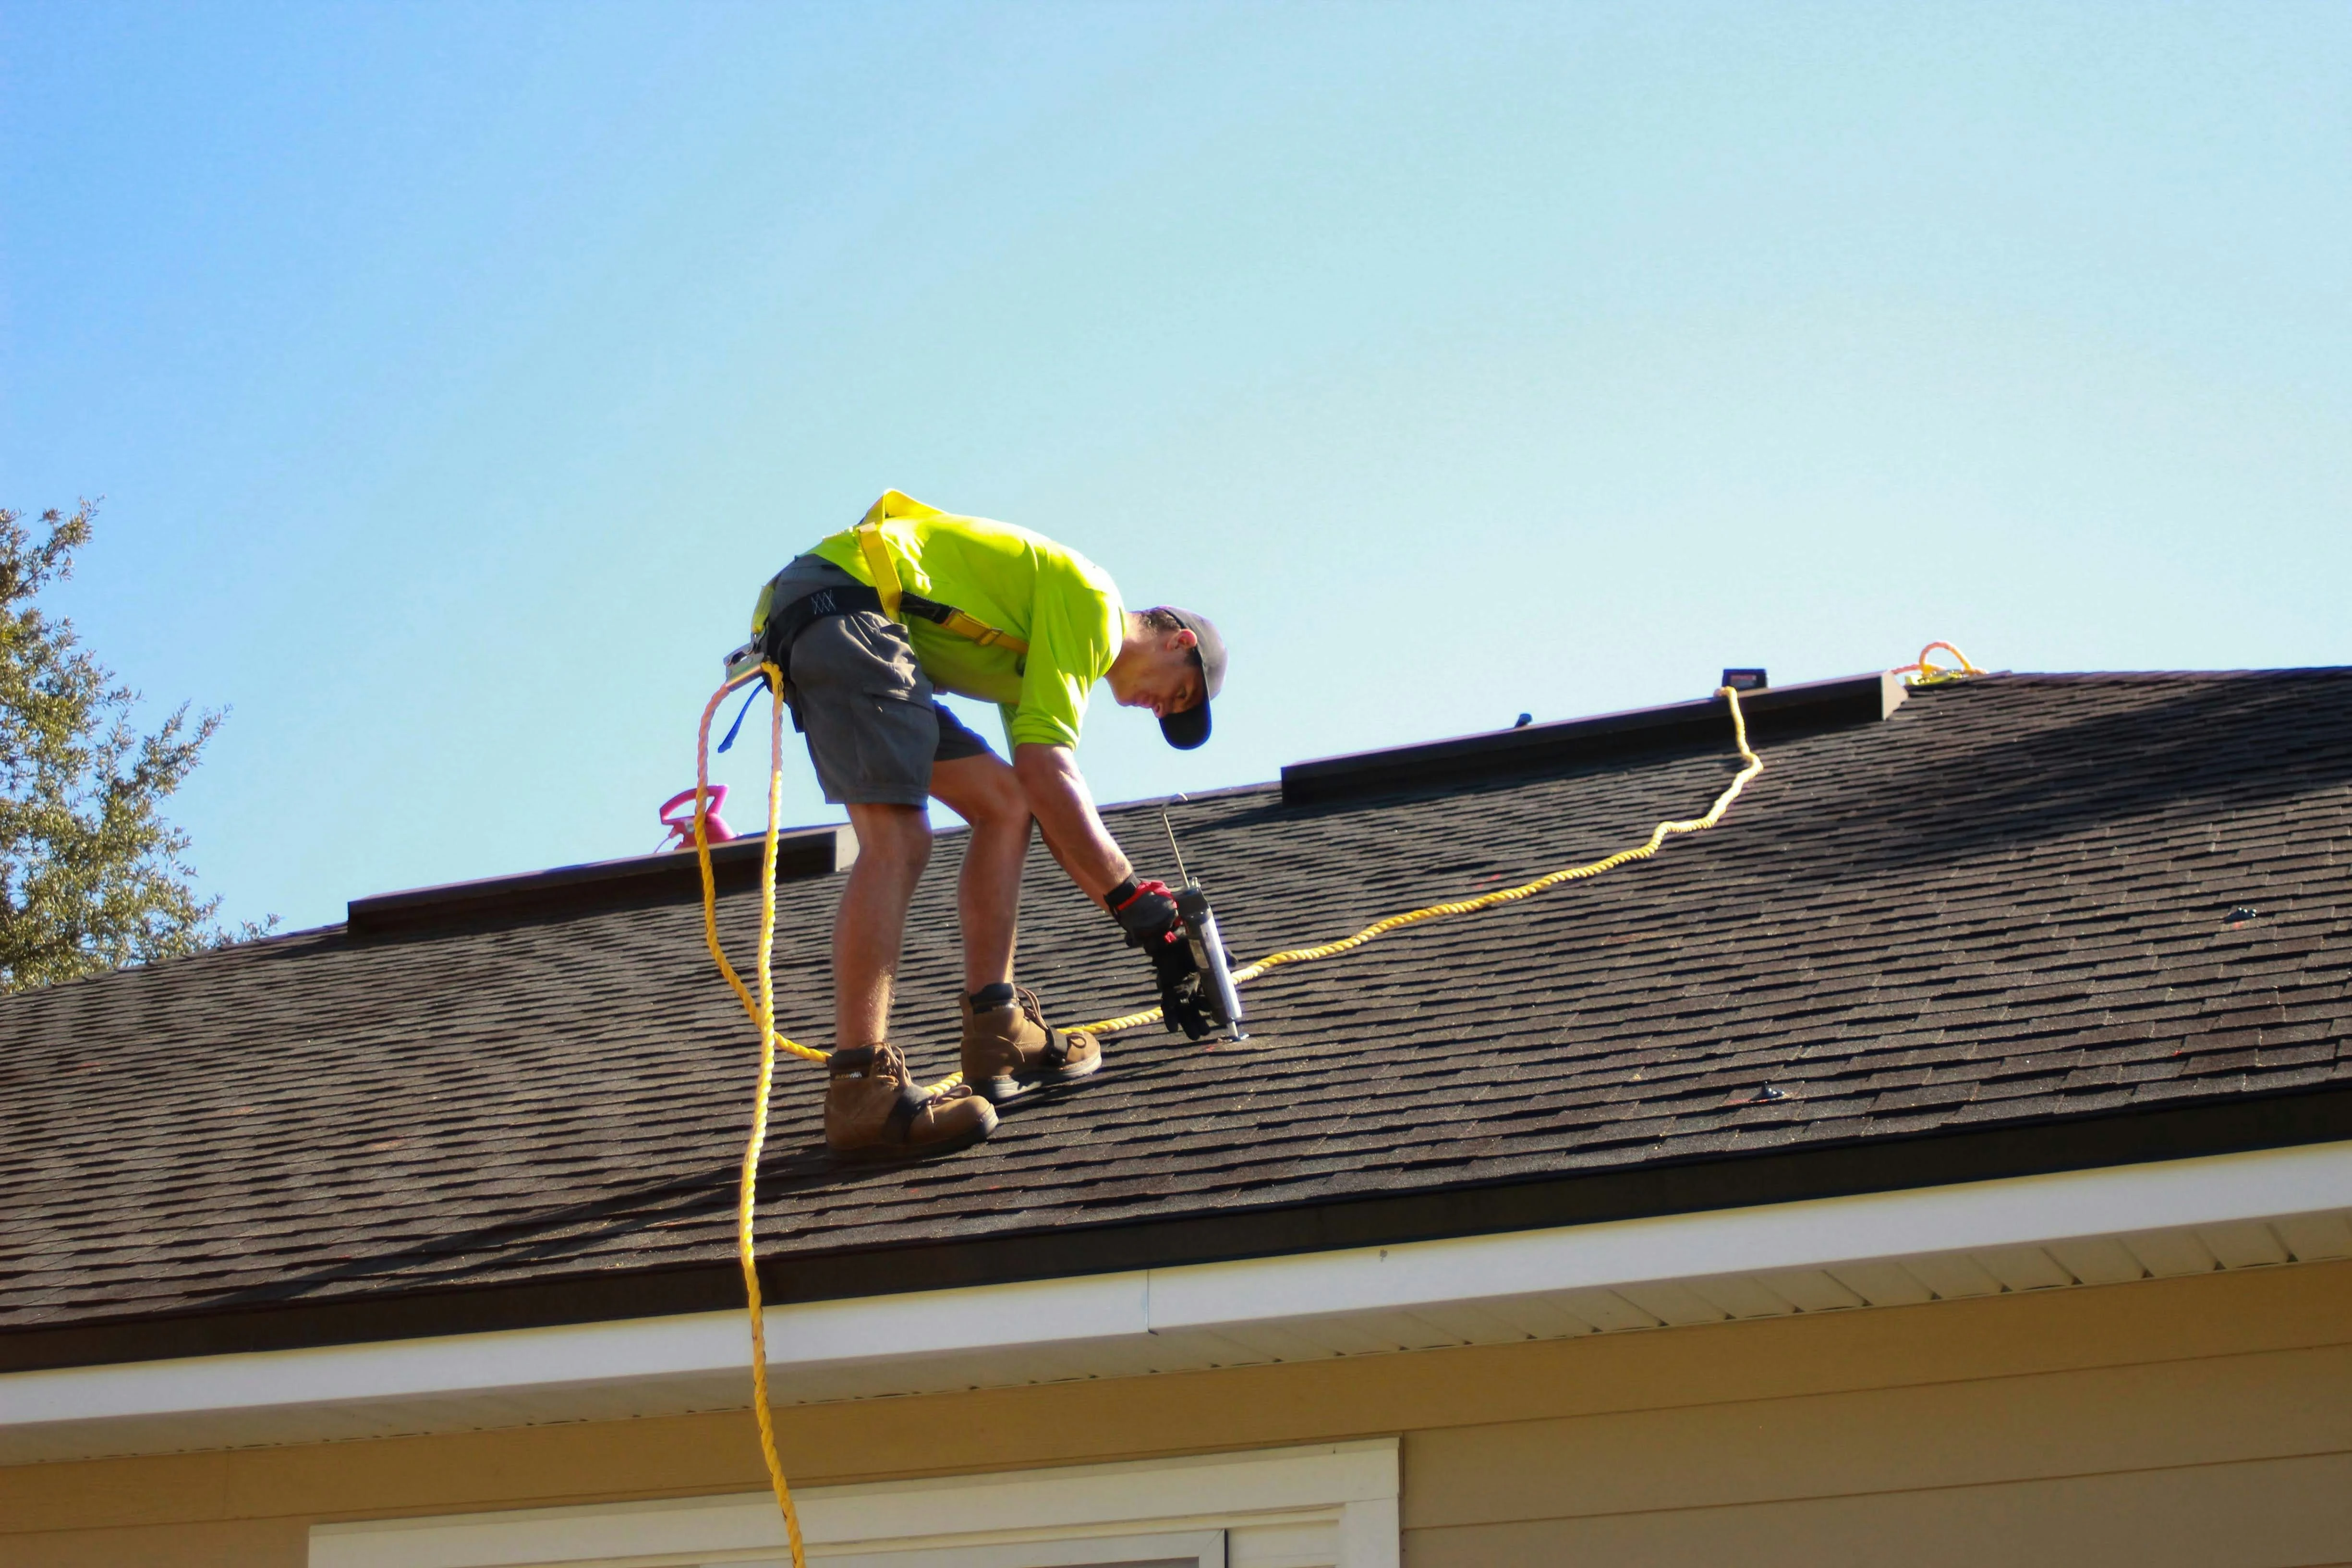
When planning work, remember that safety is paramount when working at heights. Always use safety equipment and a stable working surface. Ideally, work at heights should be done by at least two people so one can assist the other and call for help if needed.
Step 3: Installing the structure
Begin structure installation by attaching rafter extensions or consoles to the existing rafters. Use strong fasteners for this, as they must withstand the load of the windbox and natural forces acting on it.
Next, install the boards or laths that form the base of the windbox perpendicular to the rafter extensions. Ensure that the structure is level and has uniform width throughout its length. An uneven windbox not only looks unattractive but can also cause problems with rainwater drainage.
During installation, use temporary supports to hold the structure in place until all fasteners are secured. This ensures that no shifts occur during work and the final result is accurate.
Step 4: Installing the windbox base
Once the main structure is in place, attach building boards (OSB or plywood) under the windbox structure. The boards should be strong enough to carry any potential load, but not so heavy as to overload the structure.
To ensure air circulation, leave ventilation openings that help prevent moisture from accumulating inside the windbox. Moisture is one of wood's main enemies and can cause rot and mold formation.
Attach the boards with screws or nails at 15-20 cm intervals to ensure sufficient strength. Make sure all connection points are strong and the boards are firmly fastened.
Step 5: Installing wind barrier and underlayment
Moisture protection is crucial for the windbox. Install wind barrier material that protects the structure from moisture but allows air to move at the same time. Ensure that the underlayment is properly connected to the roof underlayment to prevent water from entering the structure.
Attach materials with a staple gun or strips, ensuring that all overlaps are sufficient (at least 10-15 cm) and directed so that water always flows from top to bottom. When installing roof underlayment, follow the manufacturer's instructions, as different materials may have different installation requirements.
Step 6: Windbox exterior finishing
For exterior finishing, choose a weather-resistant material that matches the overall architecture of the house. Common options are wooden boards, plywood, or special exterior finishing boards. Cut the material to exact size and carefully install it on the underside and end edges of the windbox.
Before installing the finishing material, you can paint or treat it in advance. This simplifies future maintenance, as access to some surfaces may be difficult after final installation. Use weather-resistant fasteners to prevent rust formation and fastening loosening over time.
Step 7: Installing gutters
Proper gutter installation is critical for the entire system to function. Install gutters on the edge of the windbox, allowing for a slope of approximately 3-5 mm per meter to ensure smooth water drainage. With too small a slope, water may accumulate in the gutters; with too large a slope, heavy rain can cause water to overflow.
Attach downspouts and direct water away from the foundation to prevent moisture damage. Ideally, rainwater should be directed to a rainwater system or infiltration field. Under no circumstances should rainwater flow directly to the foundation's edge, as this can cause serious problems to the building structure.
Step 8: Final finishing and inspection
To complete the work, thoroughly check all connections and fasteners. Ensure everything is properly attached and in place. Seal connection points if necessary with quality silicone that withstands weather conditions and temperature fluctuations.
Paint or treat all visible wood parts with a weather-resistant product that protects them from sun, rain, and snow. Proper treatment significantly extends the windbox's lifespan and keeps its appearance fresh.
Windbox maintenance
To ensure the windbox's long-term operation, regular maintenance is necessary. Check the windbox condition at least twice a year (in spring and autumn), paying special attention to possible moisture damage or loosened fasteners.
Clean gutters of leaves and other debris that may obstruct free water flow. This is especially important in autumn when many leaves fall from trees. Regularly renew wood protection products or paint, typically every 3-5 years, depending on weather conditions and the quality of materials used.
Watch for signs of moisture damage such as mold, rot, or peeling paint. If you notice wood-damaging insects or fungi, address them immediately. You can familiarize yourself with our article on how to fix squeaky doors and floors, which provides useful tips for wood maintenance.
You should also prevent potential problems by reading our article on simple ways to prevent blockages in your home, which helps avoid gutter clogging.
Safety recommendations
Building a windbox involves working at heights, so safety is paramount. Always use personal protective equipment, including gloves, safety glasses, and a helmet. Strictly follow occupational health and safety regulations to prevent accidents.
Avoid working in bad weather such as rain, strong winds, or snow, as these significantly increase the risk of accidents. Use proper scaffolding or ladders that are securely installed. Improvised solutions such as chairs, boxes, or unstable ladders are extremely dangerous.
When working at heights, it is important that you are not alone. This way, someone is always available to call for help if needed or to assist in lifting heavy materials.
Recommendations for engaging professionals
If you feel that building a windbox is beyond your capabilities or you lack the necessary skills and tools, it is always wise to engage professionals. From the Kinnisvara24 portal, you can find real estate agents who can recommend reliable construction contractors in your area.
For a larger renovation project, especially if it involves an apartment building, you should consider apartment association renovation loan options. This allows you to spread costs over a longer period and have the work done professionally all at once.
Building a windbox is an important project that helps protect your home and extend the roof's lifespan. By following this step-by-step guide, you can create a high-quality and durable windbox that meets Estonian climate conditions and building requirements.
Before building, be sure to familiarize yourself with local building regulations and consult with a specialist if necessary. A properly built windbox is both a functional and aesthetic addition to your home, preventing many moisture-related problems and increasing your property value.
Search
Keywords
Most read articles
- Price per Square Meter of Apartments in Tallinn in 2025

- Estonian Apartment Prices and Market Expectations in 2025

- Apartment Market in Early 2026: Prices Rising, Transaction Activity Remains Modest

- Notary Fee and State Fee – Who Pays and How Much?
- The Apartment Market in Estonia's Largest Cities in 2025
